Start page
This screen is what you will see after the system has shutdown and is in a default state.
Touch Anywhere on the panel to begin using the system.

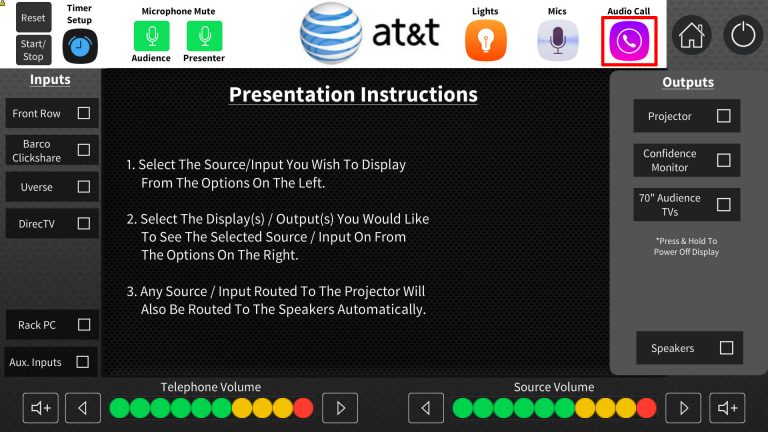
Main Page
This page has all of the room controls available to you on it. There are various subpages and controls available here.
On the top of the page, from left to right :
You can access the Configuration of the Timer, and start and stop the timer quickly here.
You can Mute microphones quickly in this space as well. Green means the mic is live and unmuted, Red means that is not live and Muted.
There are 3 icons to access 3 different subpages for rom control here : Lights, Mics, and Audio call. Pressing any of these buttons opens a page that will allow you to
control aspects of that feature.
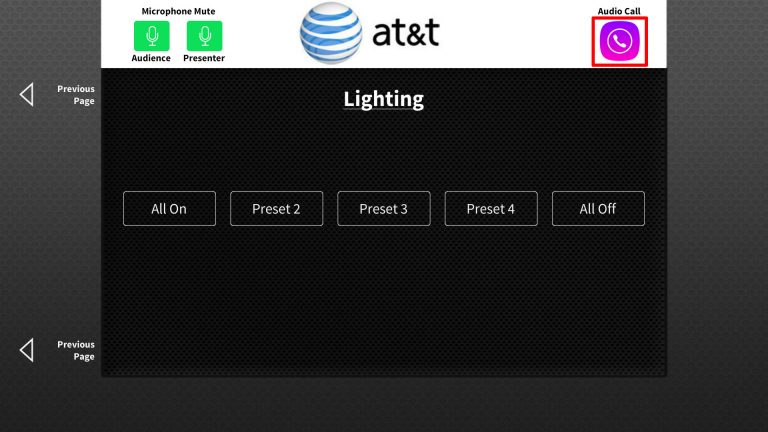
Lights
This page allows you to adjust the presets of the lighting system. All ON/ ALL OFF / And Presets 2-4. (Preset1 is All ON)
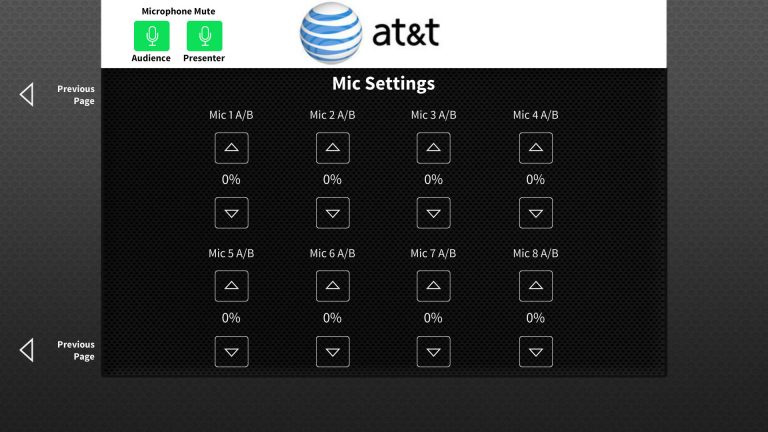
Mics
This allows you adjust the levels of mic 1-8. You can only have one microphone on at a time that has the same number. For example, you cannot have Mic1 A and B on at the same time. You can only have Mic1-A OR Mic1-B on.
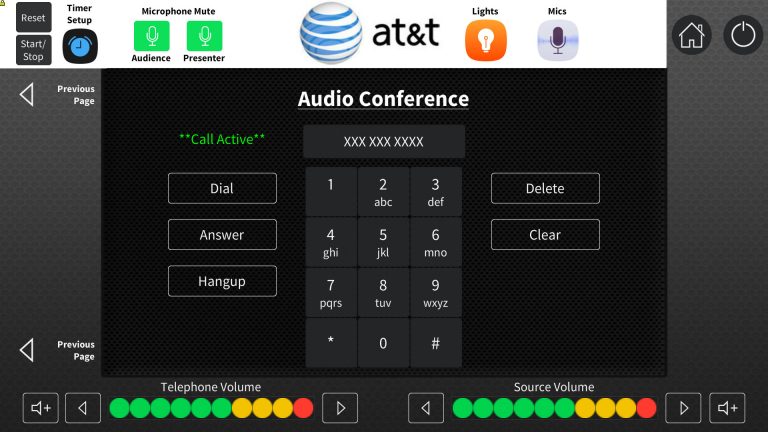
Audio Conference
This page is how you control an audio call. When a call is active, there will be green text that pops up stating the call is active. Input a phone number you wish to dial, and press “Dial” If you make a mistake, delete will remove one character, and clear will remove them all .
“Hangup ” Stops the phone call. Shutting Down the System also hangs up a phone call.
IF there is an incoming phone call, the “answer” button will answer the ringing phone.
In the top right, you have a power button for when you are finished using the system. It will ask you if you are certain you want to shut the room down or not.
Saying “no” simply closes the popup, saying yes will shut the system down and return to the start page.
Bottom Bar
On the bottom of the page, you have independent Volume control for the telephone, and for the source that is selected. Both Can be muted with the small speaker button with a + next to it.
To display something on the displays, simply choose a source on the left hand side of the screen, and than choose a destination on the right hand side of the screen. You can also send any
of the sources to the speakers ony by selecting destination “Speakers”.
When you make a route to a video destination, the speakers will automatically output switch to that sources audio. Also, when a route is made the center of the screen will changed based on the selected source.
This will give you different controls for the different sources you can select.
The AUX inputs require access to the rack room. There are 6 different inputs in the rack room that can be used but require administrator access.
