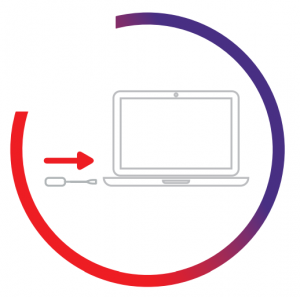


Plug the Button into the USB-C port of your laptop to connect to the room audio & video devices.
The Button LED will start blinking.
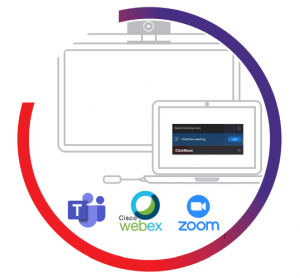
Join your next video conferencing call on your Outlook calendar with one click.
You are now wirelessly connected with the camera, microphone and speakers in the meeting room!
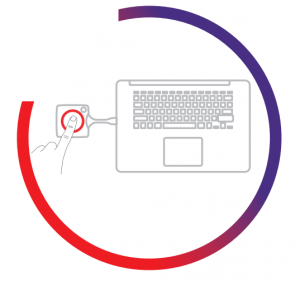
Push the Button so everyone in the room can see the remote meeting participants and start sharing content from your computer on the meeting room display and with remote attendees.
1. Take a Button and insert the Button into a USB port of your laptop. Depending on the USB port on your laptop a convertor must be used. This convertor is not delivered by Barco.
The white ring on the Button is filling up. When totally filled up it goes to static white and is ready to share or it starts blinking to indicate that you have to start clickshare.exe on your computer.
On your laptop a new drive appears.
Different situations are possible now:
2. The application is started
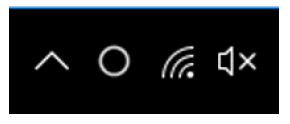
The icon appears in the system tray.
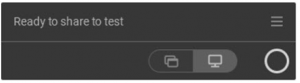
When the system is ready for use, a message appears close to the systray icon. Message is as follow: Ready to share to <ClickShare name>
The LEDs of the Button are static white.
The peripherals such as USB camera, echo cancelling audio device, etc. can now be used in the tool of your preference on your device.
Your screen or a typical application can be shared.
3. To share your screen on the display, click the Button.
The LEDs of the Button become static red and your screen appears on the display. When audio is enabled on the ClickShare Base Unit, the audio of your laptop is also available on the audio output of the Base Unit, and it will be played via the meeting room audio system. The icon returns to the same state as in step 3.
When a USB echo cancelling audio device is connected to the Base Unit, all audio, content audio and speaker audio is played via the speakerphone system.
The Ready to share message is reduced to to a red icon .
ClickShare automatically scales the content of your screen to the resolution of the meeting room display. The aspect ratio of your screen is maintained to make sure the proportions are correct.
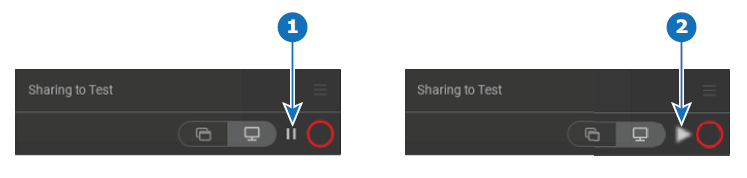
4. To freeze the content on the screen while you look up something on your PC, just click on freeze icon (1) next to the ClickShare icon. The icon will change to a release icon (2)
To resume the content sharing, click on the the release icon (2).
5. To remove your content from the display, click the Button again.
The LEDs of the Button become static white.
6. When leaving the meeting room, unplug the Button from your laptop.
No trace of the ClickShare application is left on your laptop.
When connecting with the Button, it allows you to connect the room speakerphone, microphone and camera
wireless to your laptop and use the better equipment of the room in your video conferencing call.
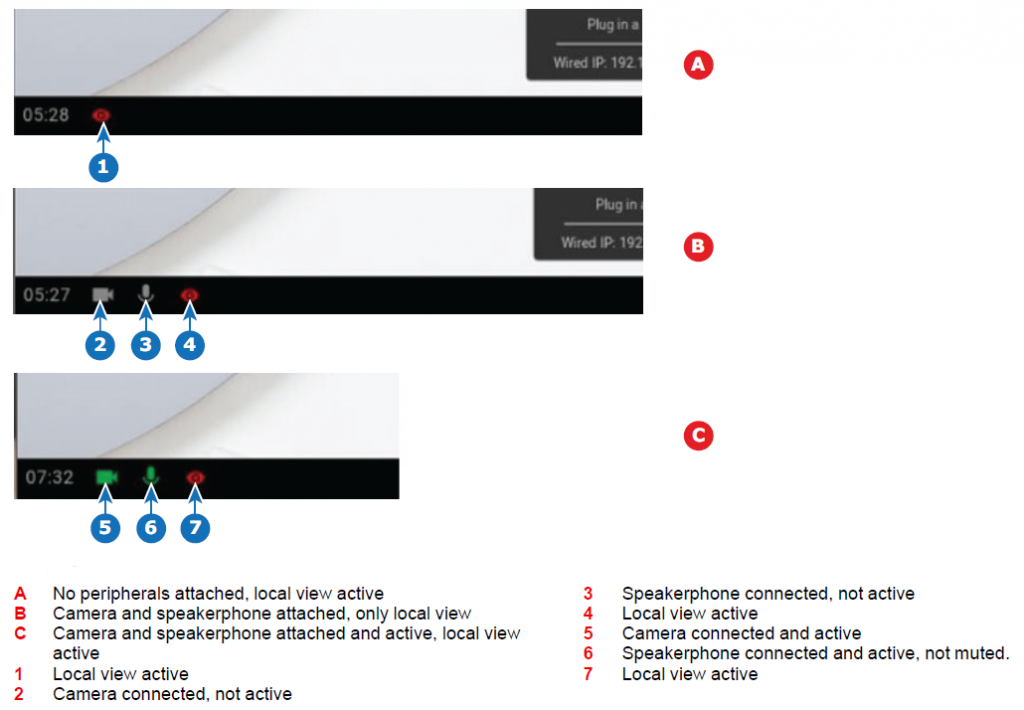
Icons on the wallpaper indicate the availability and status of the peripherals in the room. When one of them is
not attached to the Base Unit allowing to create an audio only meeting room or a video only meeting room, the
corresponding icon will not be shown on the wallpaper.
The state of the peripheral icons on the wallpaper are in sync with the peripherals. When the microphone is muted, it is guaranteed that no sound is going through the system. A muted microphone is indicated by a microphone icon with dash through the icon.
With the ClickShare desktop app installed on your computer you can enter a meeting room and get on the screen in a few seconds.
The ClickShare desktop app connects to the meeting room screen in order to share your content. Presence detection technology is used to do so. The ClickShare desktop app uses Wi-Fi beacons and an inaudible audio signal to detect the most nearby meeting rooms and show a list of maximum 5 most nearby meeting rooms, sorted based on signal strength on your computer. Just click on your meeting room name. This means you will never have to enter IP addresses or scroll long lists of meeting rooms before being connected to your meeting room.
The ClickShare desktop app can be used with or without a Button.
ClickShare desktop app installation
When the ClickShare desktop app is not pre-deployed in your IT environment, you can download and install
the software without administrator rights from www.clickshare.app .