
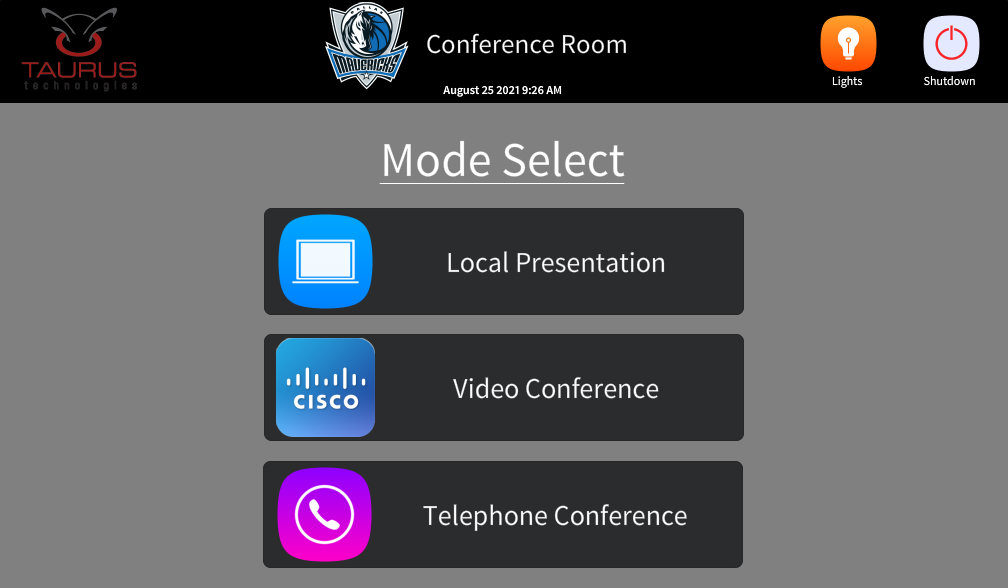


Choose how you would like to use the room
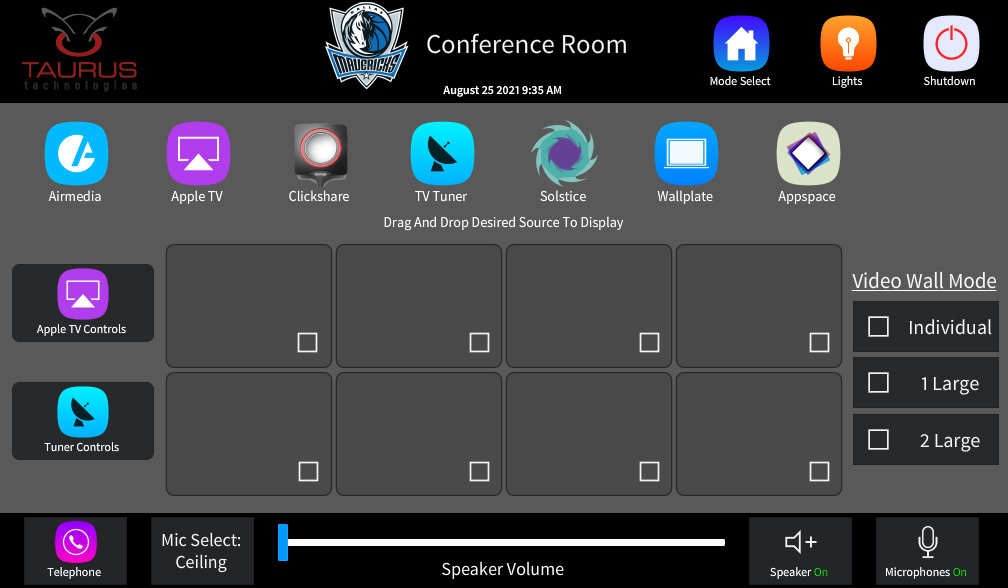
Mode Select
Lights
Shutdown
Telephone
Mic Select
Speaker Volume
Speaker Mute
Mic Mute
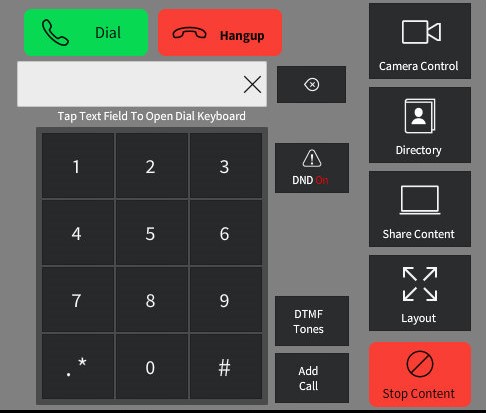
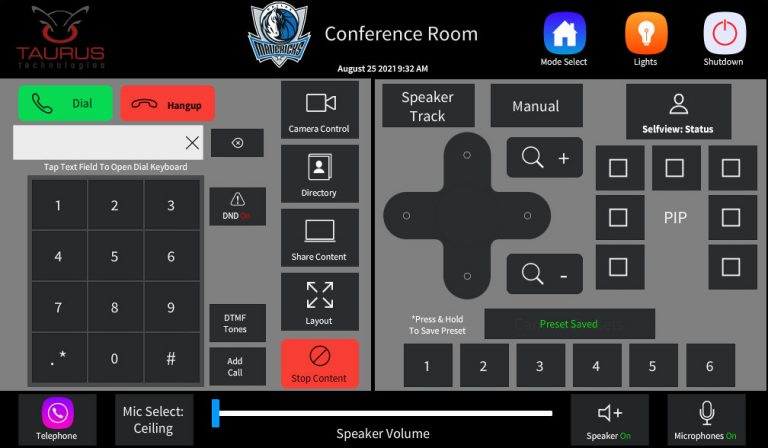
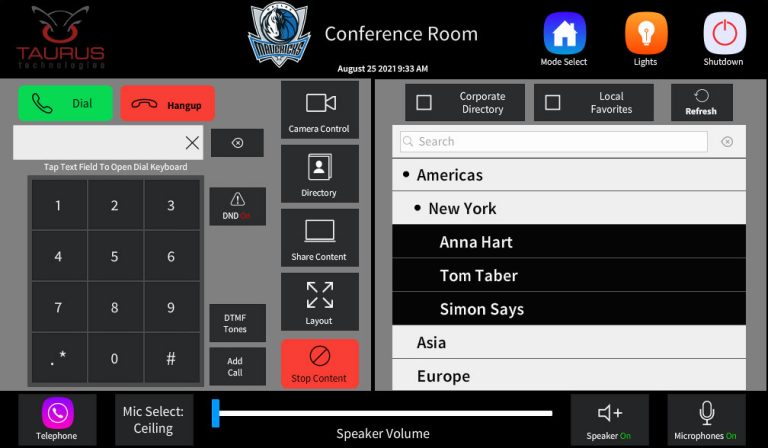
Dial Pad
Camera Control
Directory
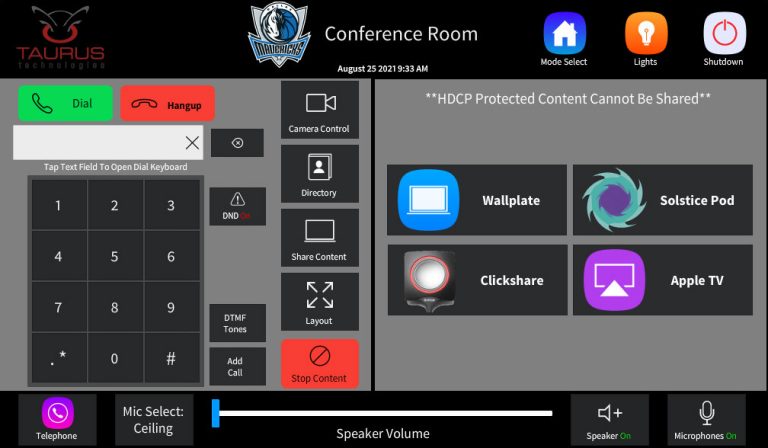
Share Content
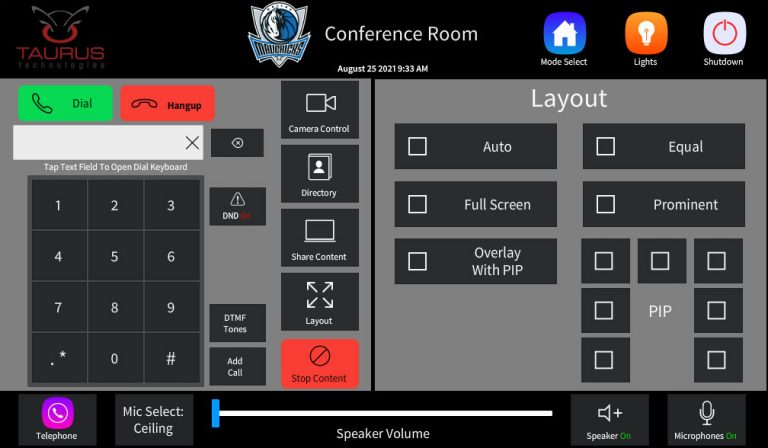
Layout