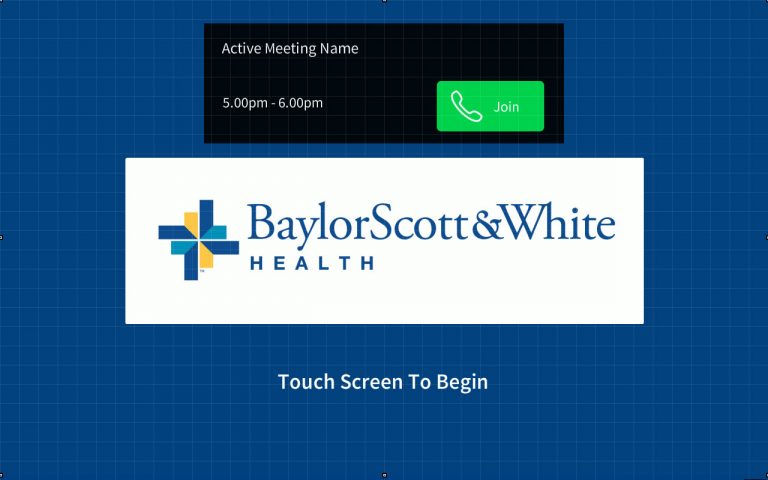
Start page
Touching anywhere takes you to mode select page (Touch to Begin).
a. At the top of the start page, any active meeting will be displayed. The Join button will turn the system on and connect to the meeting. This function is only available when any combination of rooms are combined with room 1.
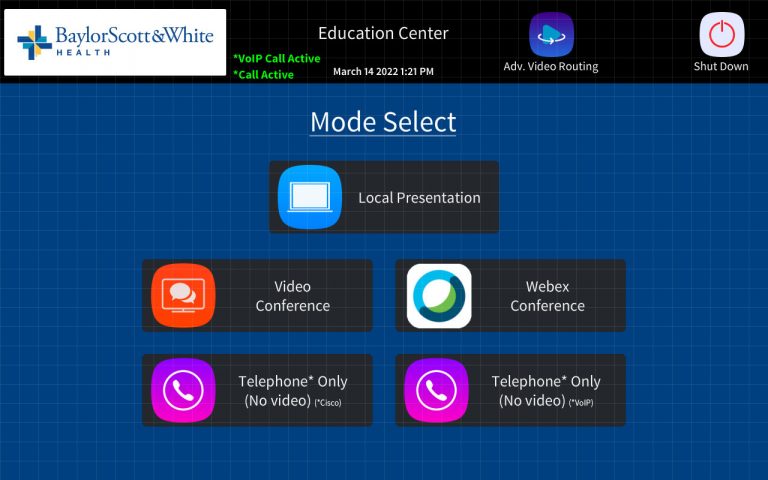
Mode Select Page
Gives you the option to select Local Presentation, Video Conf, Webex, or Audio Conf. Local Presentation and Audio Conf only in any room not combined with room 1.
a. Room 1 – When selecting either Local Presentation, Video Conf or Webex, you will be asked to pick the orientation or layout of the room(s) and will also show the current room combine setup (ex-Rooms 1-2 combined or all combined). Once the orientation is selected, it will go into whichever mode you selected from the mode select page (Local Presentation, Video Conf. or Webex) There are two Audio Conf modes here. Audio conf via Cisco is enabled by default, and VoIP must be enabled on the admin settings page (Press and hold the logo in the top left corner of the page for 3 sec).
b. Rooms 2-4 – If combined with room 1, you have the same functionality as Room 1. If in any other combined or separate state, you will see only Local presentation and audio conf. Selecting either will take you to that mode.
c. Startup please wait – The startup please wait page will appear while the displays turn on.
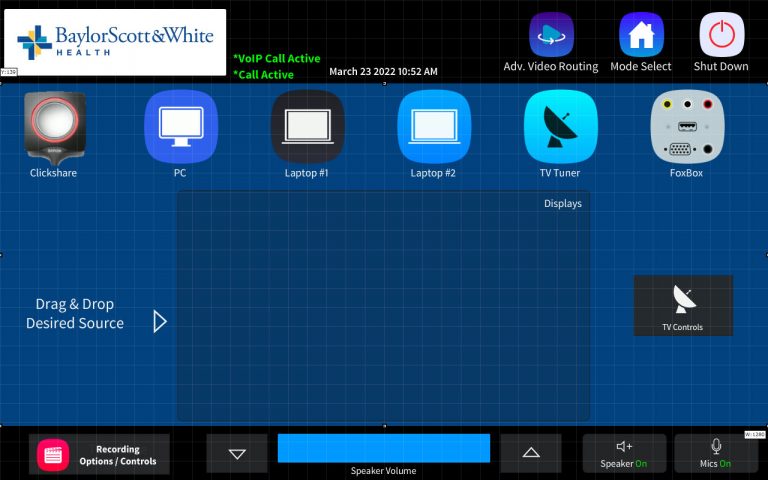
Local Presentation
Using the “Drag and Drop” function, Video sources (depending on the combined state you are in) will be available to drag and drop to all displays, depending on the rooms’ combined state.
a. Advanced Routing – On the top bar of the touch panel is an advanced routing button that takes you to the advanced routing page that allows you to route any video source to any display from any panel in any room.
b. TV Controls – The tv controls button will bring up the essential TV control functions (ex. Guide, Channel up and down, etc.)
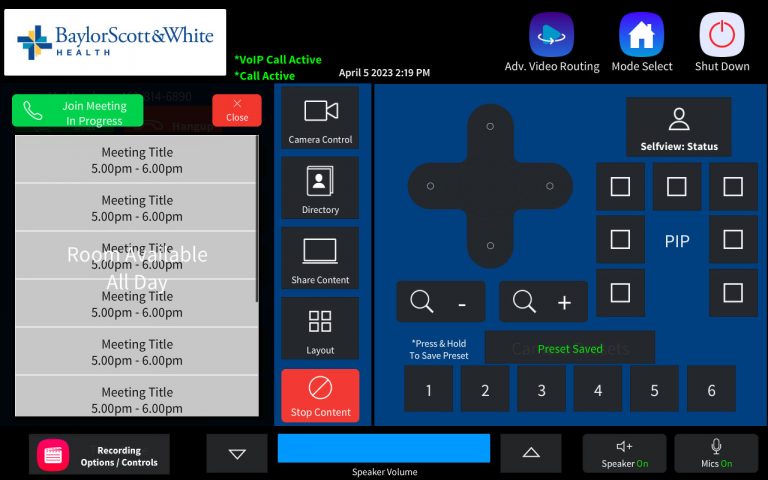
Video Conf or Webex
Both give you all the controls you need to make a video call. In Webex mode, you need to enter the Webex meeting ID and press the connect button. In Video Conf Mode, there are a few extra features. Near the center of both screens are the main Video conf functions.
a. Camera Control – This gives the user control of any cameras in the space.
b. Directory – Only available in Video Conf Mode This feature allows the user to search for a room or person and make a direct Video call to them. Once a directory selection is made, a pop-up will appear showing the selected info and give you the option to dial or cancel. The red STOP CONTENT button will display at the bottom of the screen when actively sharing content with the far end of the call.
C. Share Content – This allows the user to share the different video sources in the space with the far-end participants in the call.
d. Layout – This feature changes the appearance of the conference participants as displayed on the local monitors (ex, Fullscreen and picture in picture).
e. Additional features – Left of the main features are the options to display any scheduled meetings, put the room in Do Not Disturb Mode, add additional calls and DTMF tones for entering any necessary meeting passcodes, etc.
Top Bar
Displays the BSWH logo on the left, any active call (Video or Audio), Room Name with time and date below it, the adv. routing button, mode select button, and shut down button.
a. Logo – You are taken to the admin section by pressing and holding the logo. Features include auto-shutdown selection, enable VoIP button and the current IP addresses of the Crestron control processor, and the Cisco Room Kit. A pop-up will appear when the system is nearing the auto-shutdown time that allows the user to add one hour to the system shutdown.
b. Advanced Routing – See Local Presentation section a.
c. Mode Select – This takes you back to the main mode select page.
d. Shut Down – This brings up a pop asking the user to confirm or cancel the shutdown sequence. No returns you to the previous screen, while yes starts the shutdown sequence of turning off displays, clearing video routes, and hanging up any video or audio calls. The shutdown, please wait, pop up, and a progress bar will show until the room(s) have completely shut down.

Bottom Bar
The bottom bar contains all audio controls and the recording controls.
a. Recording Controls – (Extron SMP 351)The recording controls button is only available on Room 1’s touch panel and any other room’s touch panel currently combined with room 1. The recording control page gives you the ability to control which camera is recorded and the camera’s layout, the content source (content source follows that of Room 1’s projector), and the record, pause and stop function. The recorder defaults to its internal server unless a USB drive is inserted in the front. A USB drive is recommended as it is a much simpler way to retrieve the recording.
b. Volume Control – The volume up and down button and speaker mute control the Local Presentation, Video conf/Webex, and Audio conf level in the room.
c. Mic Mute – The Mic mute button mutes any active mic in the space to the far end of the audio or video conf.