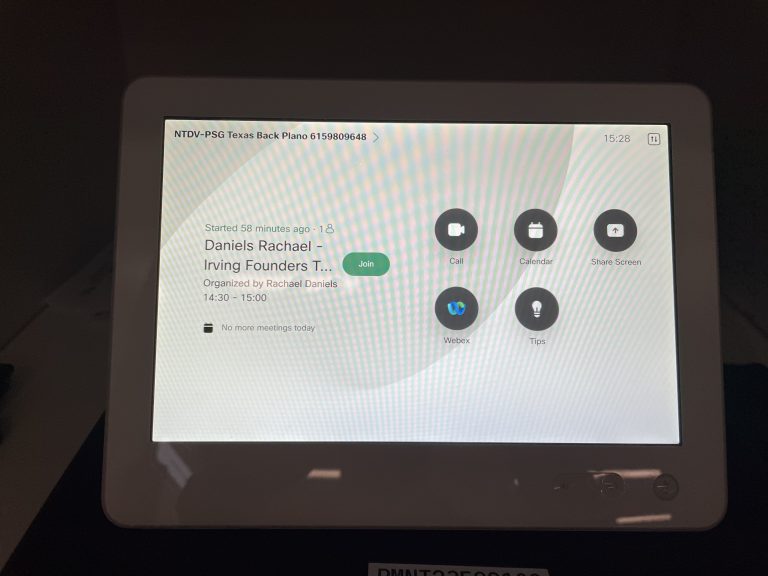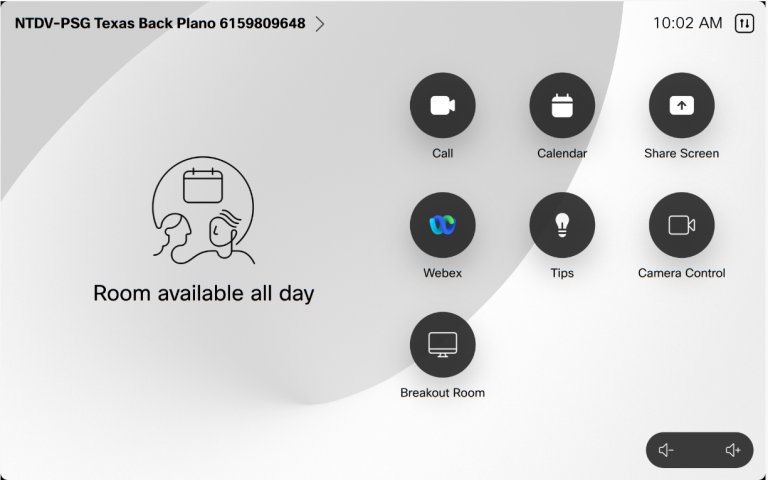
- Locate the room’s AV touch panel and select ‘POWER ON’.
- If the touch panel is black or showing ‘PRESS SCREEN TO ACTIVATE’, touch the display to activate the touch panel.
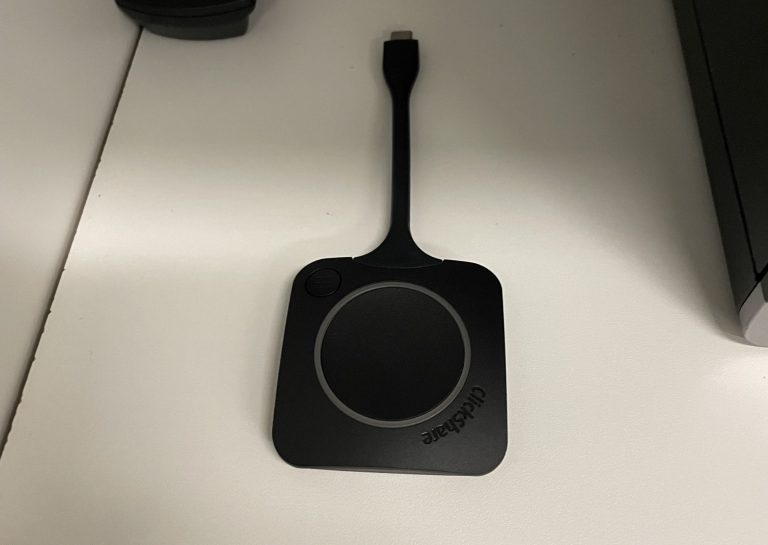
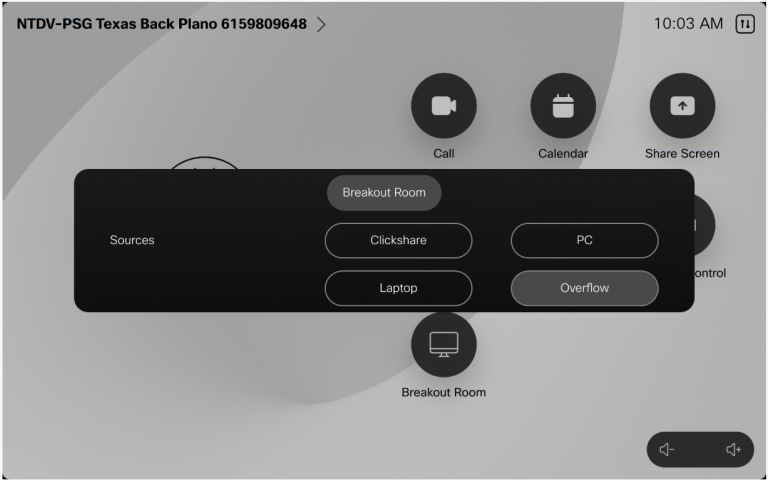
- Select the ‘Click Share’ button at the bottom of the screen.
- Connect to the ClickShare wifi network. The wifi network name will correspond with the campus, building and room that you’re in (e.g. if you’re at St Lucia in B556 R1034, the network name is 01-0556-1034-clickshare).
- Enter ‘clickshare’ as the wifi password.
- Select AirPlay
 from the status menu at the top right of your screen.
 - A list of available devices will appear, select ‘ClickShare’.