Mavericks Conference Room
What are you trying to do?
Tap your task — we'll take you right there.
Routing & Wall
Sources, layout & audio
Apple TV & Cable
On-screen remotes
Phone
VoIP dial pad & hangup
Troubleshooting
Common issues & contact
Touch Panel Main Page
Top bar, bottom bar & routing center
The Main Page is your home screen. The top bar handles room-wide controls; the bottom bar handles audio and the phone; the center is where you route sources to the LED wall and pick what plays through the speakers.
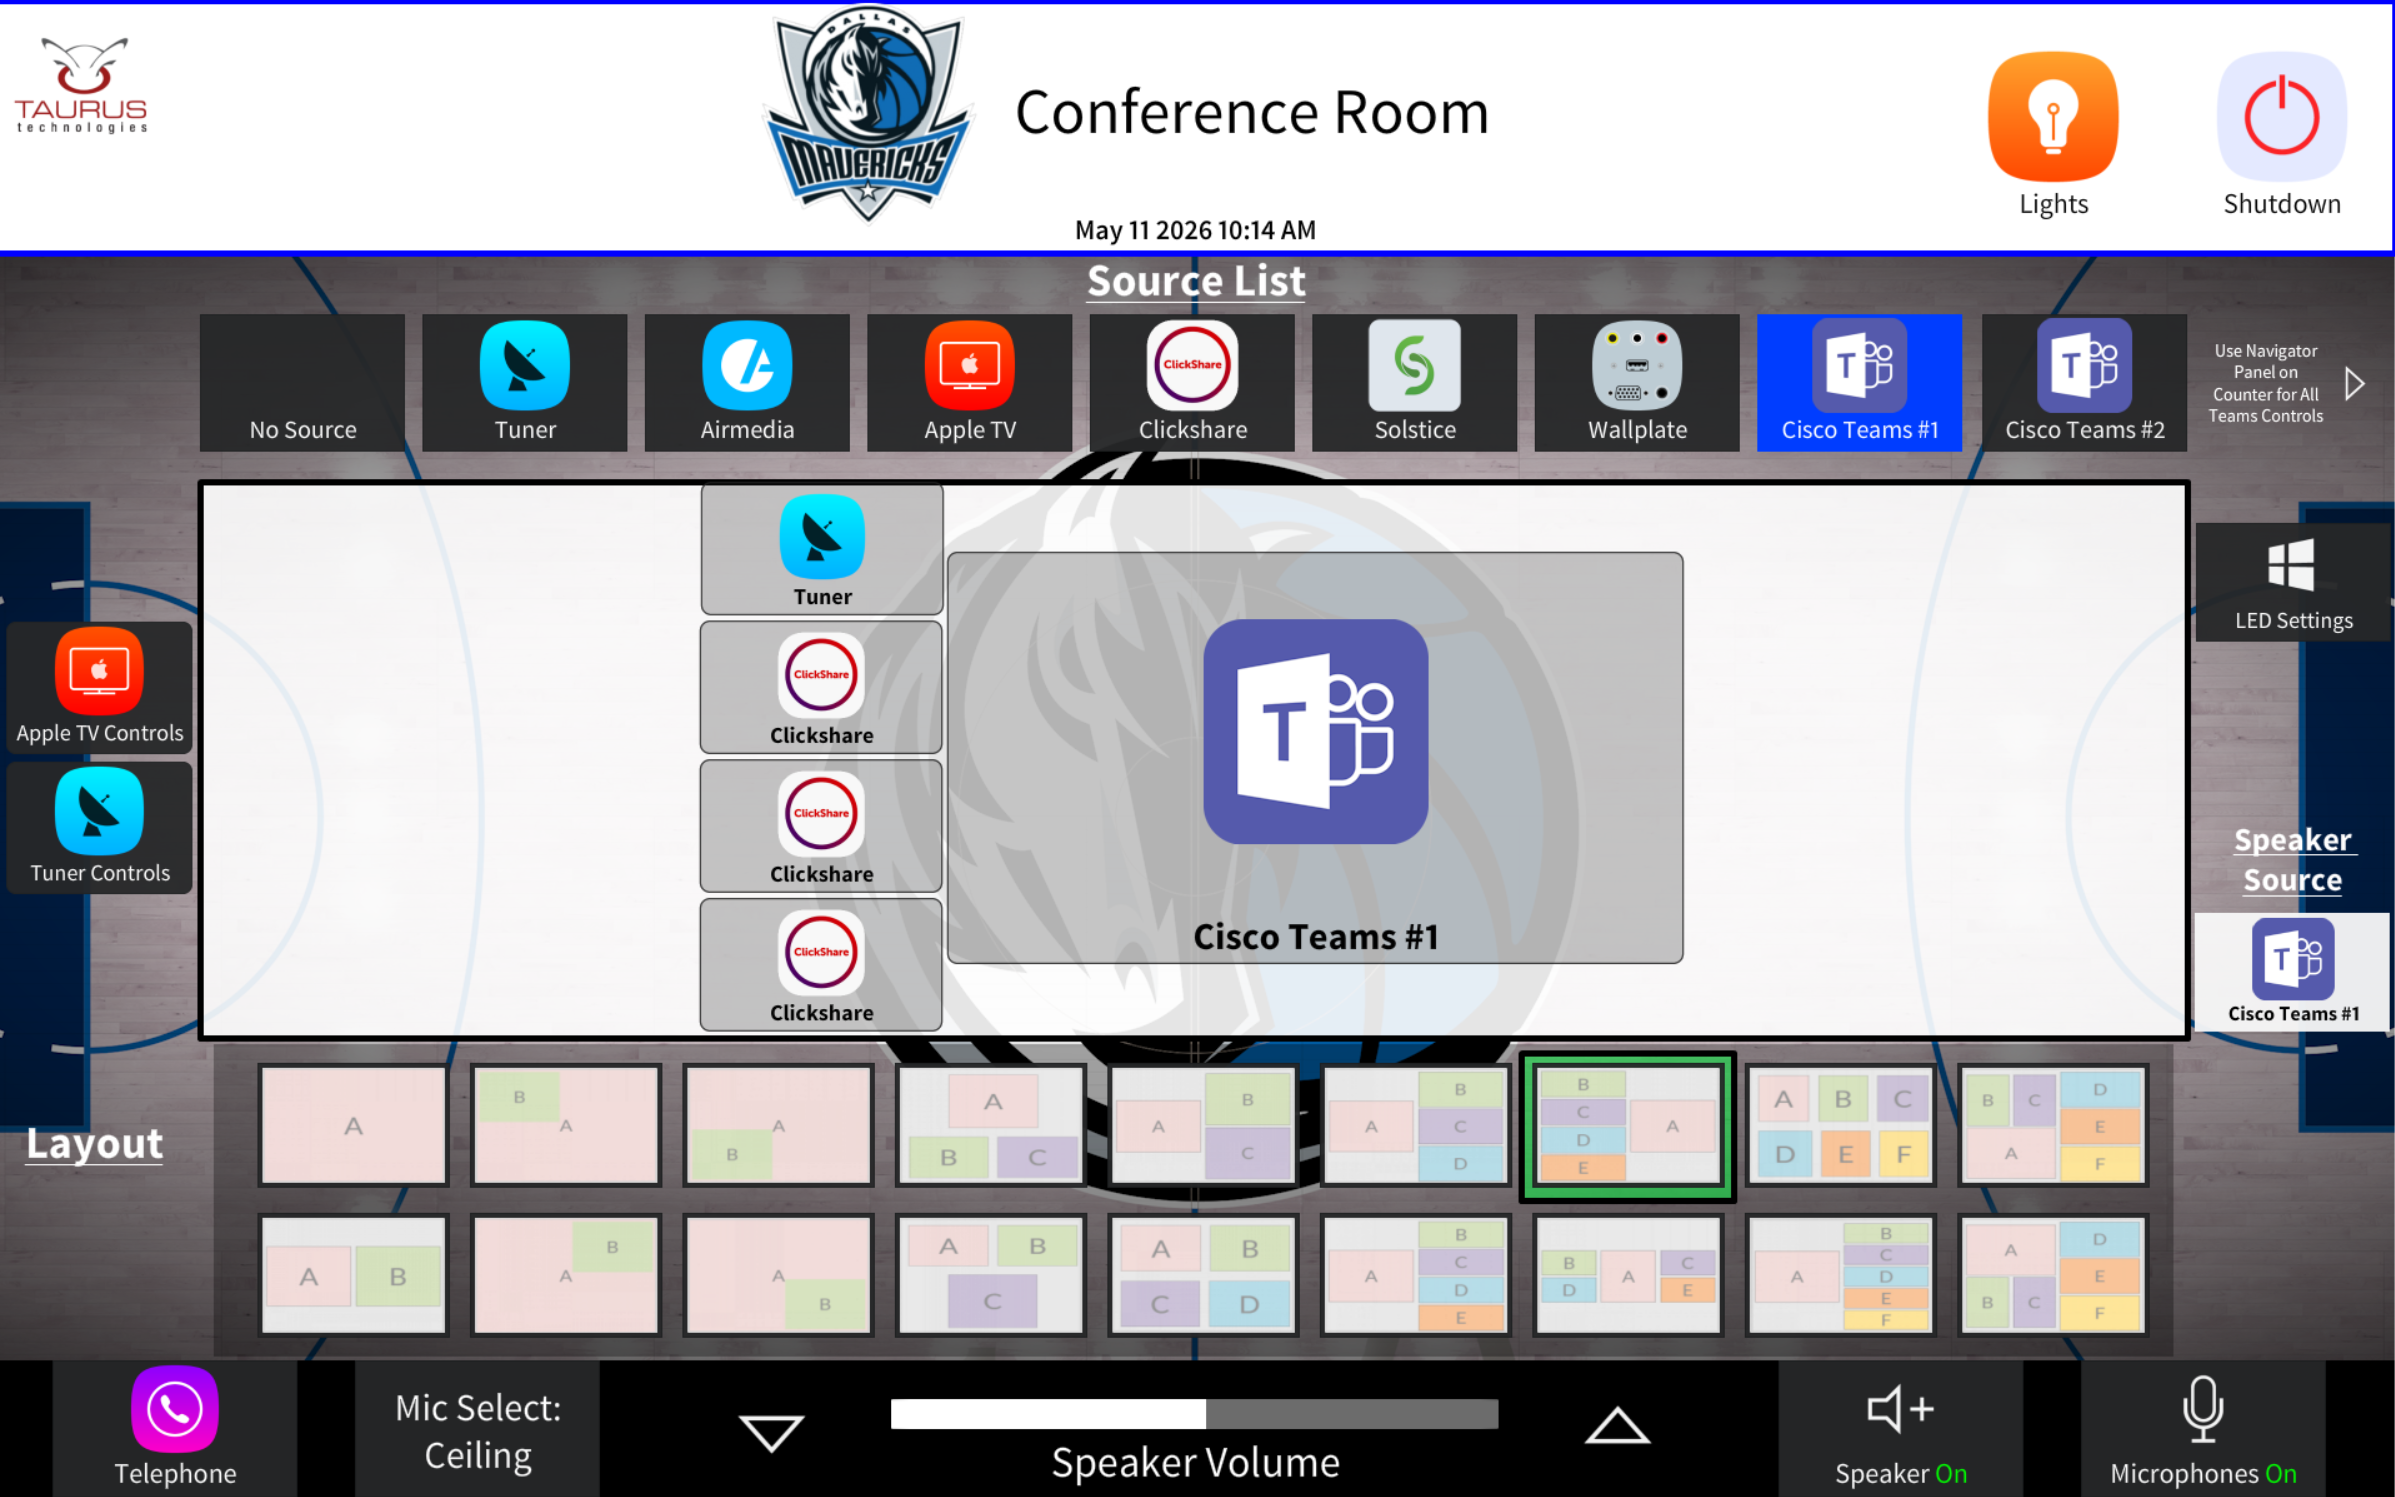
Top Bar
Center — Routing
Bottom Bar
Wake the Room
Tap the Start Page or trigger the occupancy sensor
When the room is dormant, the touch panel shows the Start Page — a single welcome screen that brings the system online with one tap.
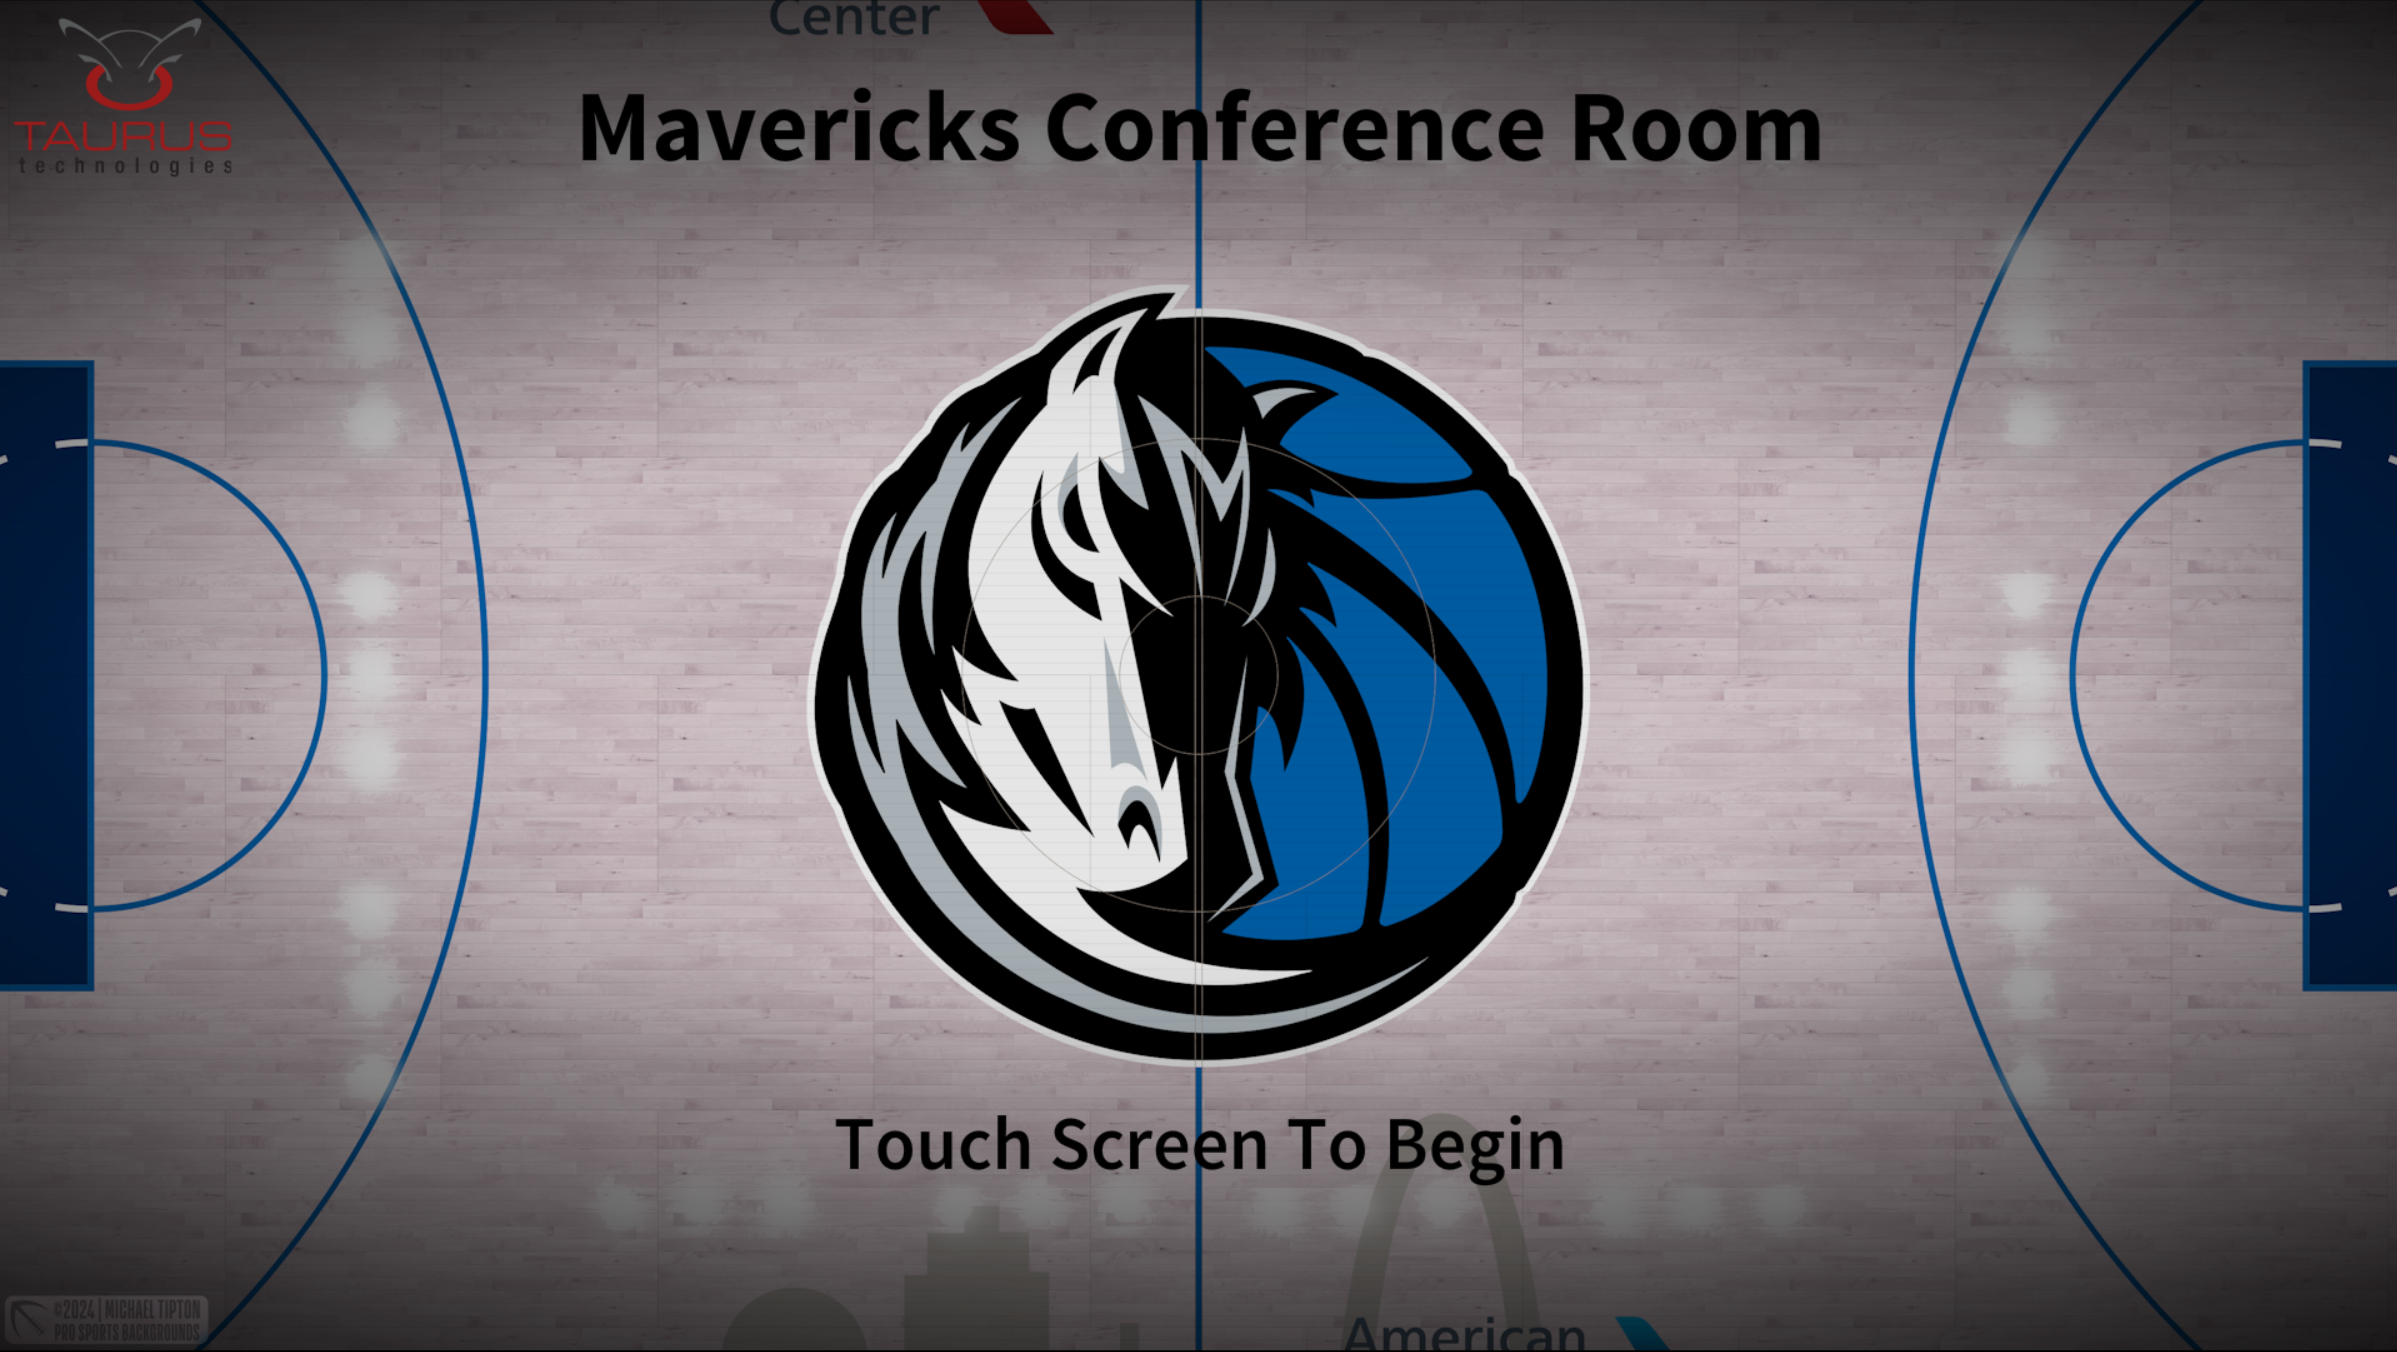
Auto-wake on entry: The room has an occupancy sensor — when you walk in, the system jumps straight to the Main Page. You'll only see the Start Page if the room was shut down while you were still inside.
Send a Source to the Video Wall
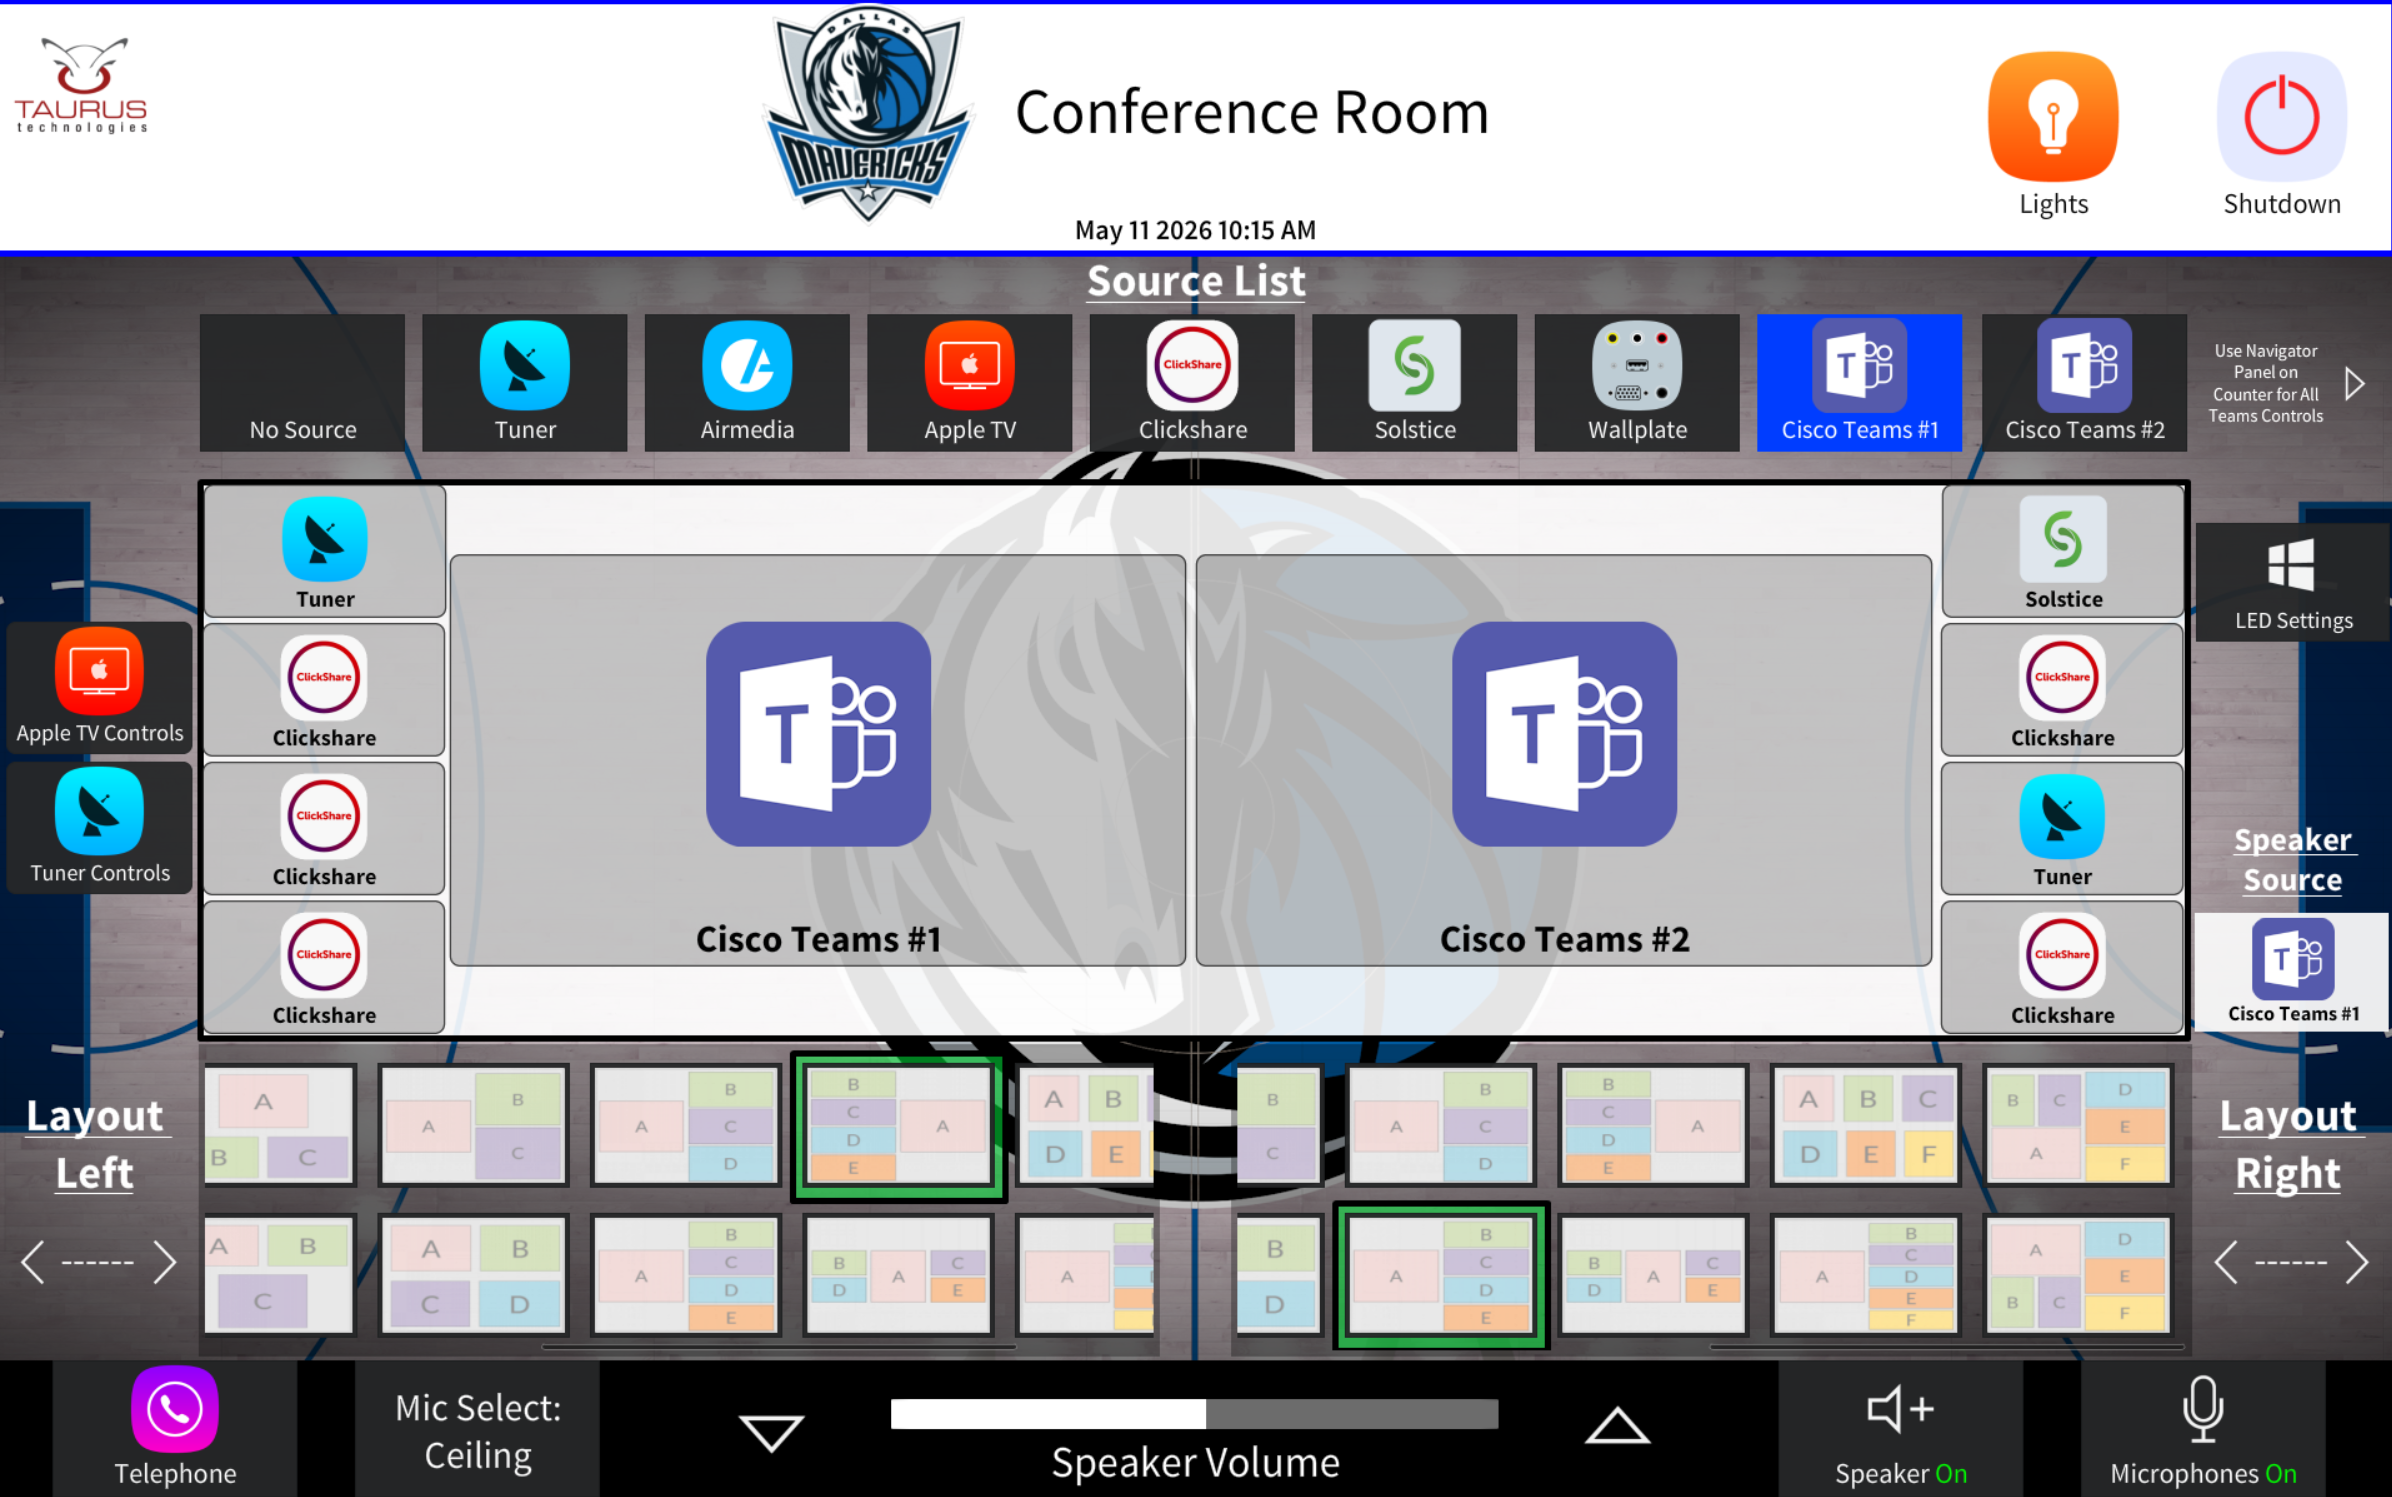
Tap a source, then tap a layout tile
At the top of the routing area is the Source List — every source the room can show on the wall. Below it is the wall layout, plus the layout selector grid.
The wall can run in Single mode (one image fills the wall) or Dual mode (two side-by-side outputs). Switch modes from the LED Settings popup — see the next card.
Single Mode
Dual Mode
LED Wall Mode & Brightness
Switch between single and dual outputs; set brightness
Tap LED Settings on the right side of the Main Page to open the LED Wall popup.
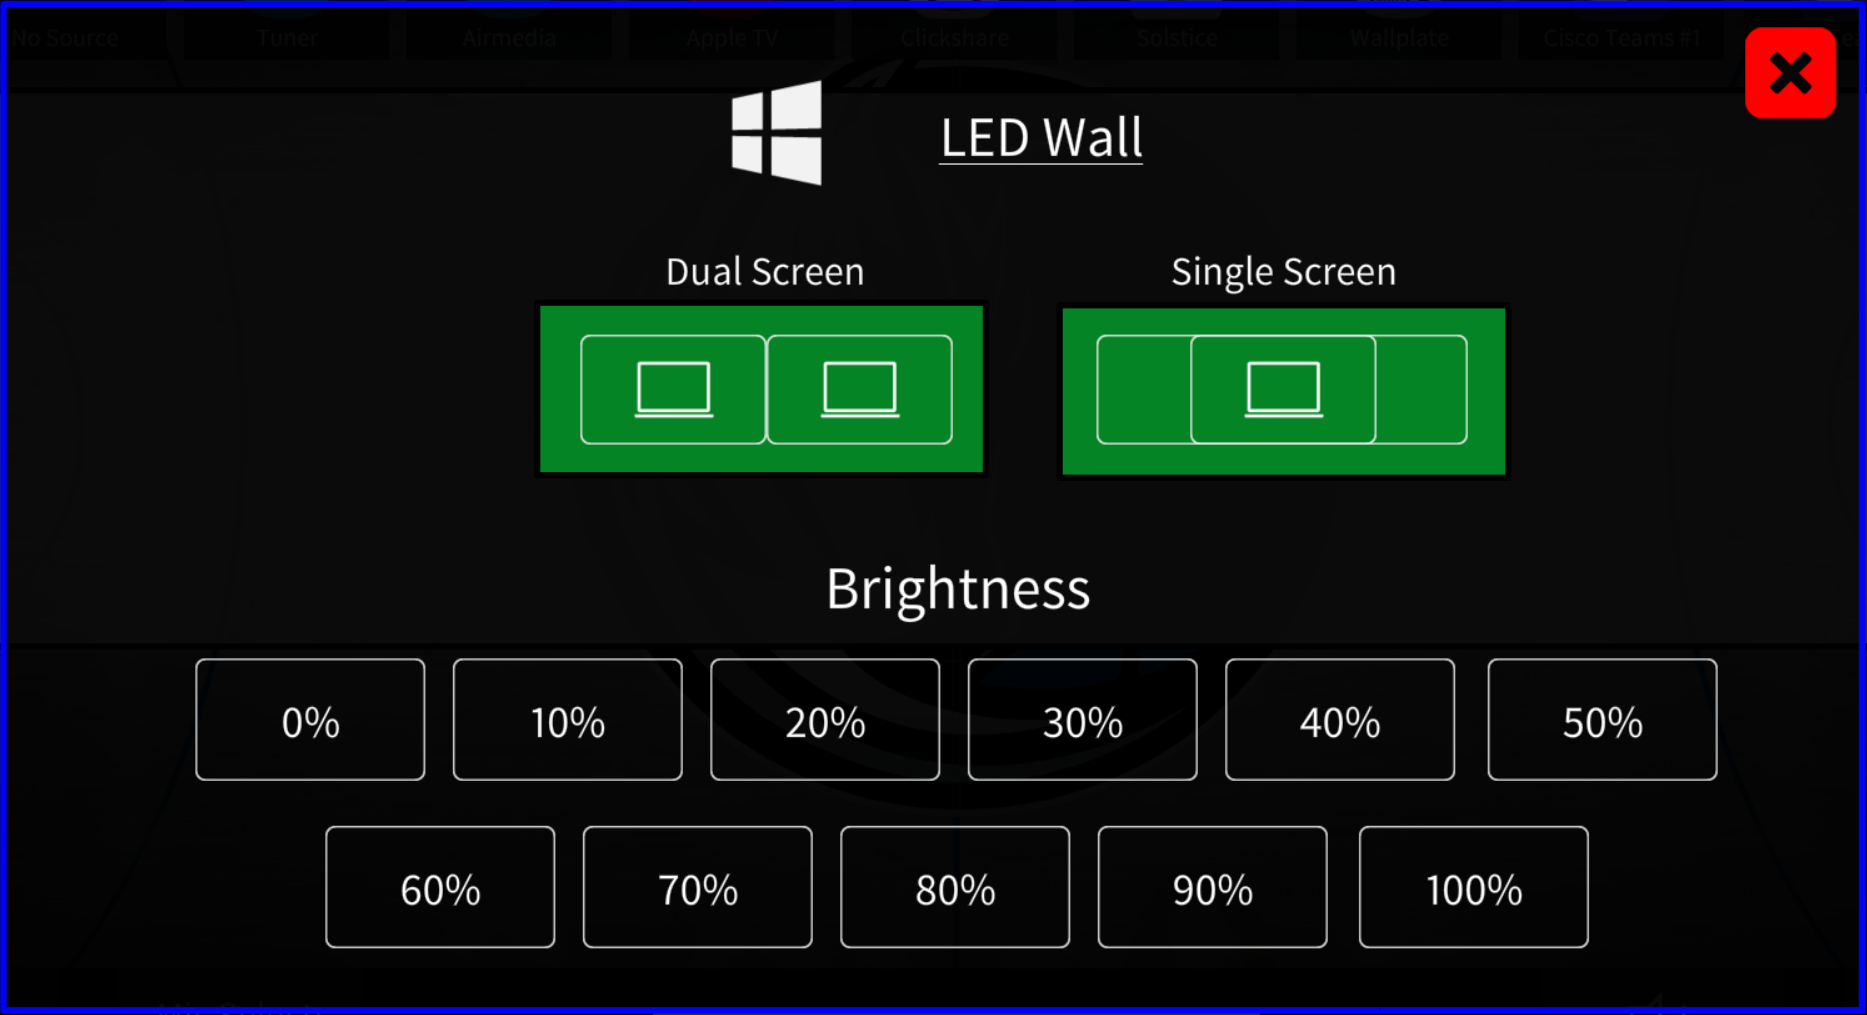
- Dual Screen — two side-by-side outputs on the wall.
- Single Screen — one image stretched across the wall.
- Brightness — choose from 0% to 100% in 10% steps.
Choose Which Source the Speakers Play
Speaker Source button (right side)
Audio routing is independent of video — you can hear one source while watching another.
Mic Select, Volume & Mutes
Everything in the bottom bar
Mic Select — Table or Ceiling
The Mic Select button swaps which microphones are live. You can use the table mics or the ceiling mics — not both at the same time. Pick whichever fits how the room is being used.
Speaker Volume
The volume control sits in the center of the bottom bar — a level bar with up and down arrows on either side.
Speaker Mute
The speaker icon immediately to the right of the volume-up arrow is a speaker mute. Tap it to silence all audio from the room speakers.
Microphone Mute
The microphone icon at the far right is a mic mute — tap to turn the active mics on or off.
Lights
On / off, dim up / dim down
Tap the Lights button in the Top Bar to open the Lights popup.
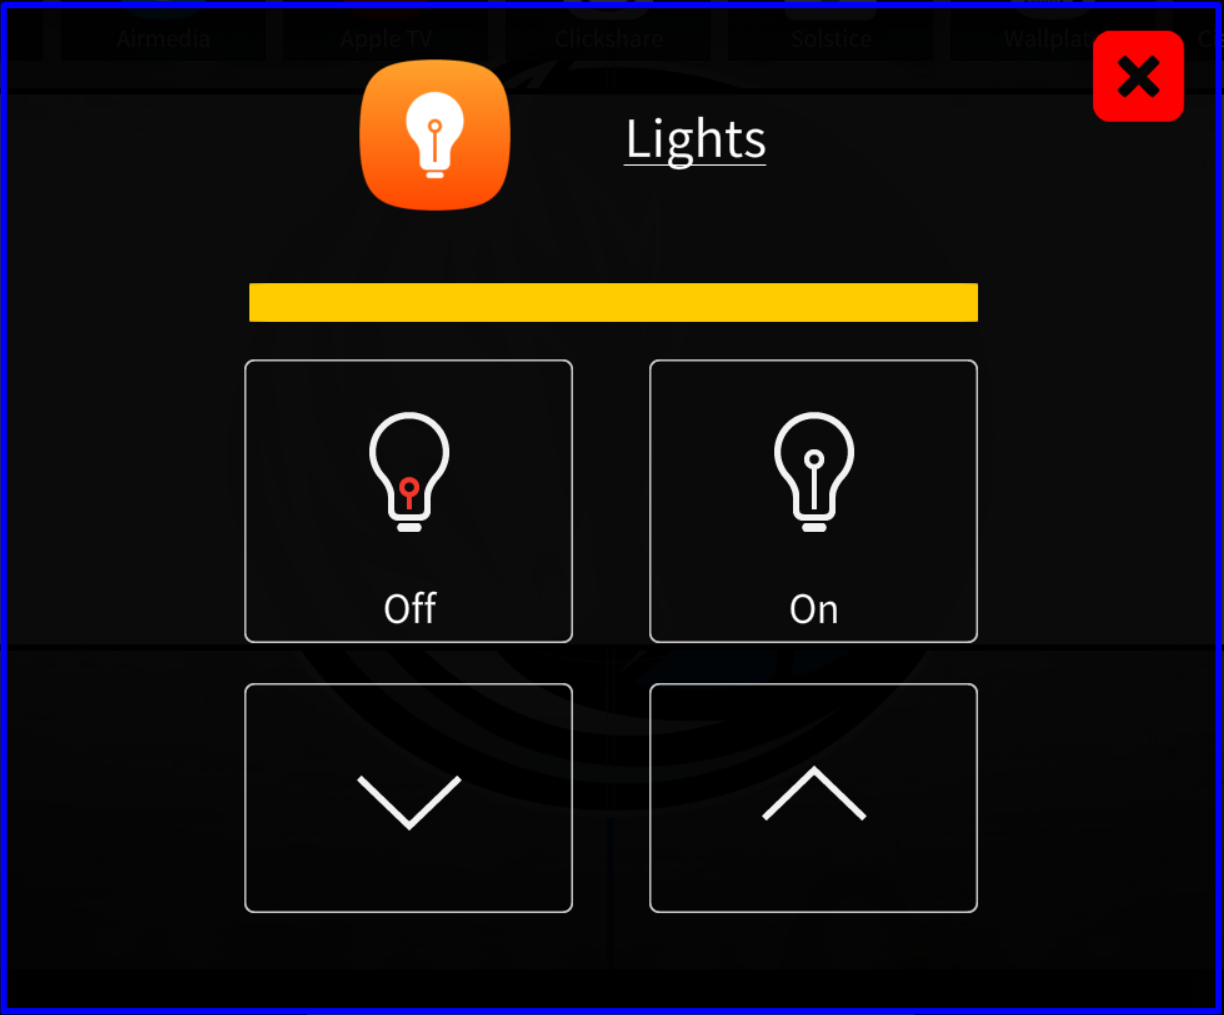
- Off / On — kill or restore the room lights.
- Dim down / up — the bar at the top shows the current level.
The lights also follow the occupancy sensor — they come on when you walk in and go off when the room is unoccupied.
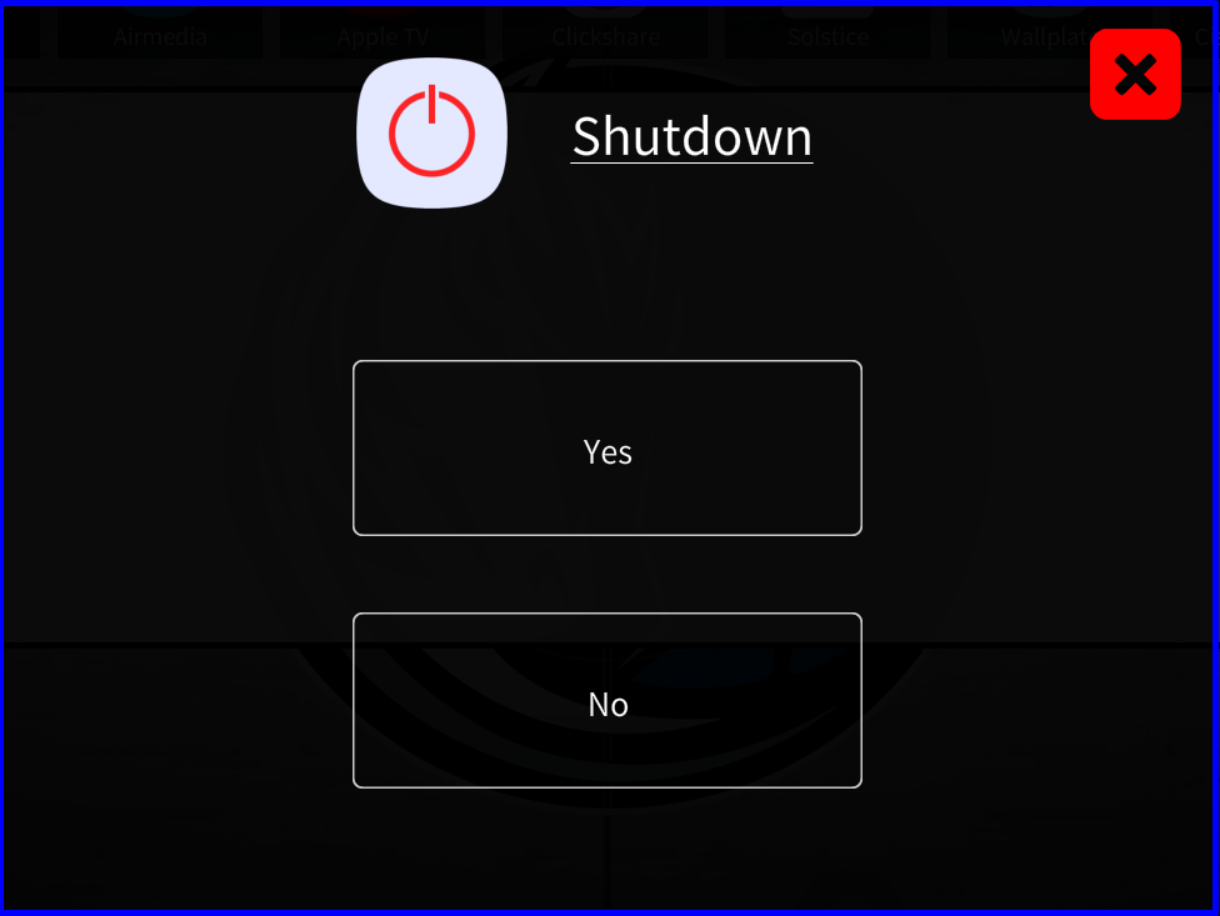
Shut the Room Down
Manual shutdown or scheduled auto-shutdown
Manual Shutdown
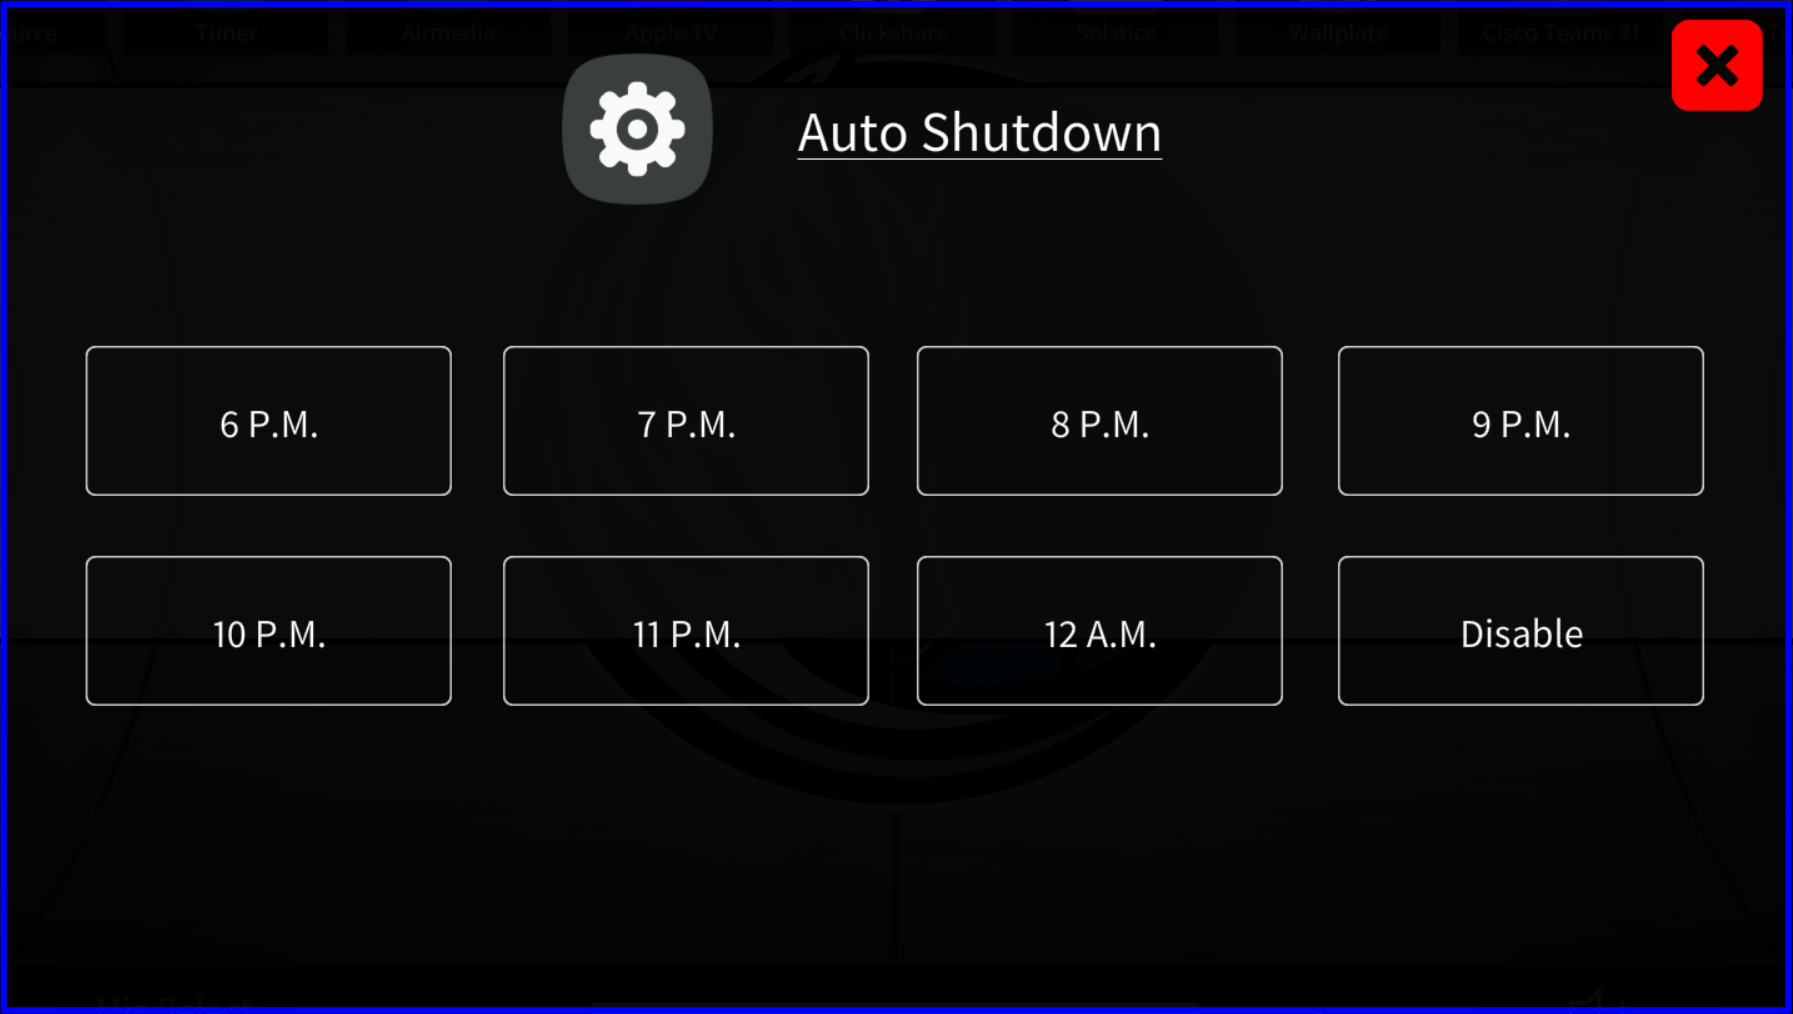
Auto-Shutdown (Admin)
The occupancy sensor handles shutdown when the room is empty, but you can set a hard cutoff time as a backup.
Apple TV Remote
Opens from Apple TV Controls on the left rail
Tap Apple TV Controls on the left rail of the Main Page to open the on-screen Apple TV remote.
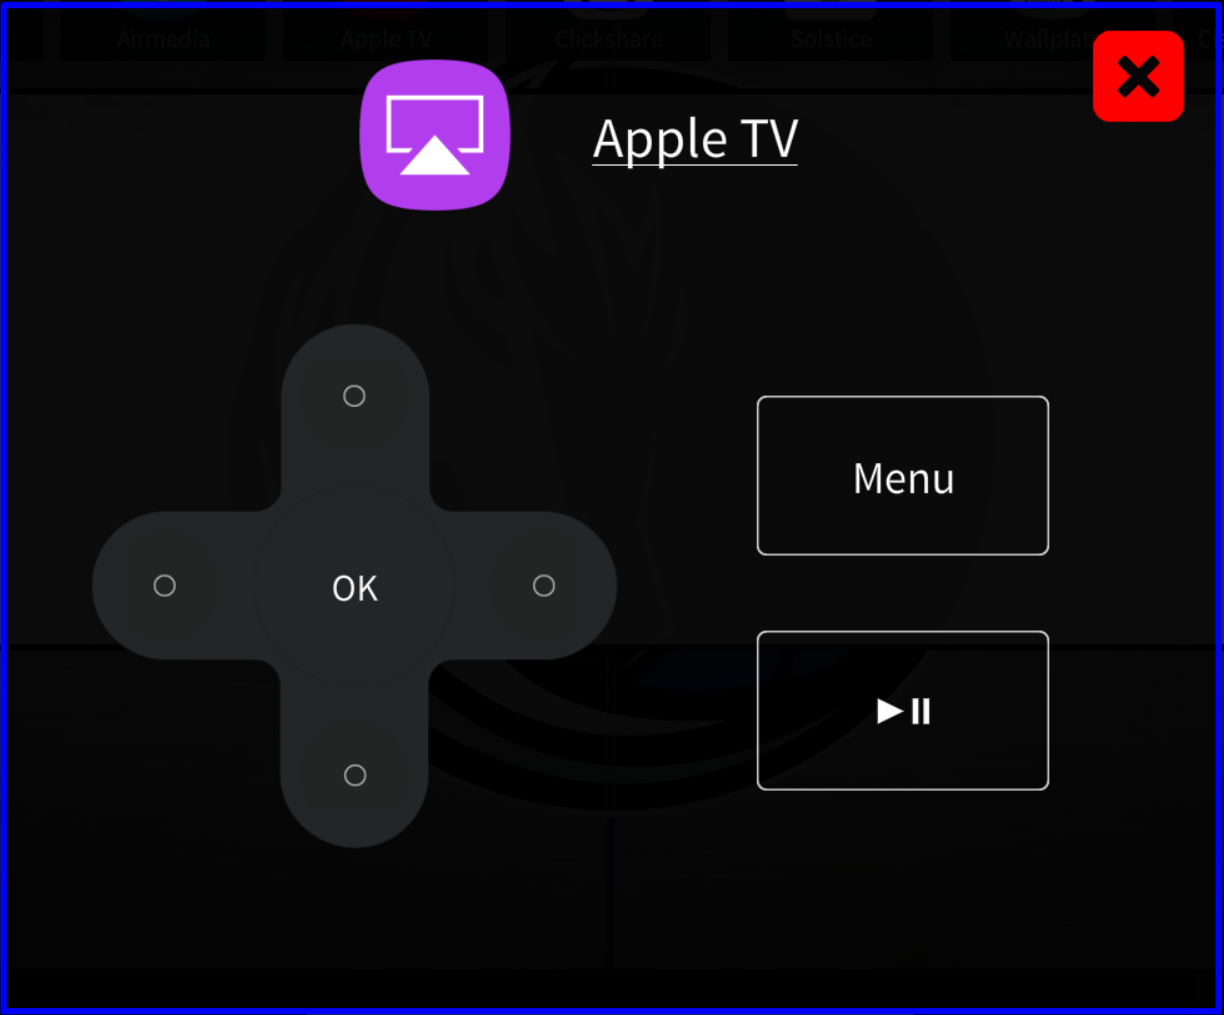
- Direction pad + OK — navigate and select on-screen items.
- Menu — step back / open the Apple TV menu.
- Play / Pause — start or pause playback.
TV Tuner (Cable Box) Remote
Opens from Tuner Controls on the left rail
Tap Tuner Controls on the left rail of the Main Page to open the cable box remote. Each button behaves exactly like pointing an IR remote at the cable box and pressing it.
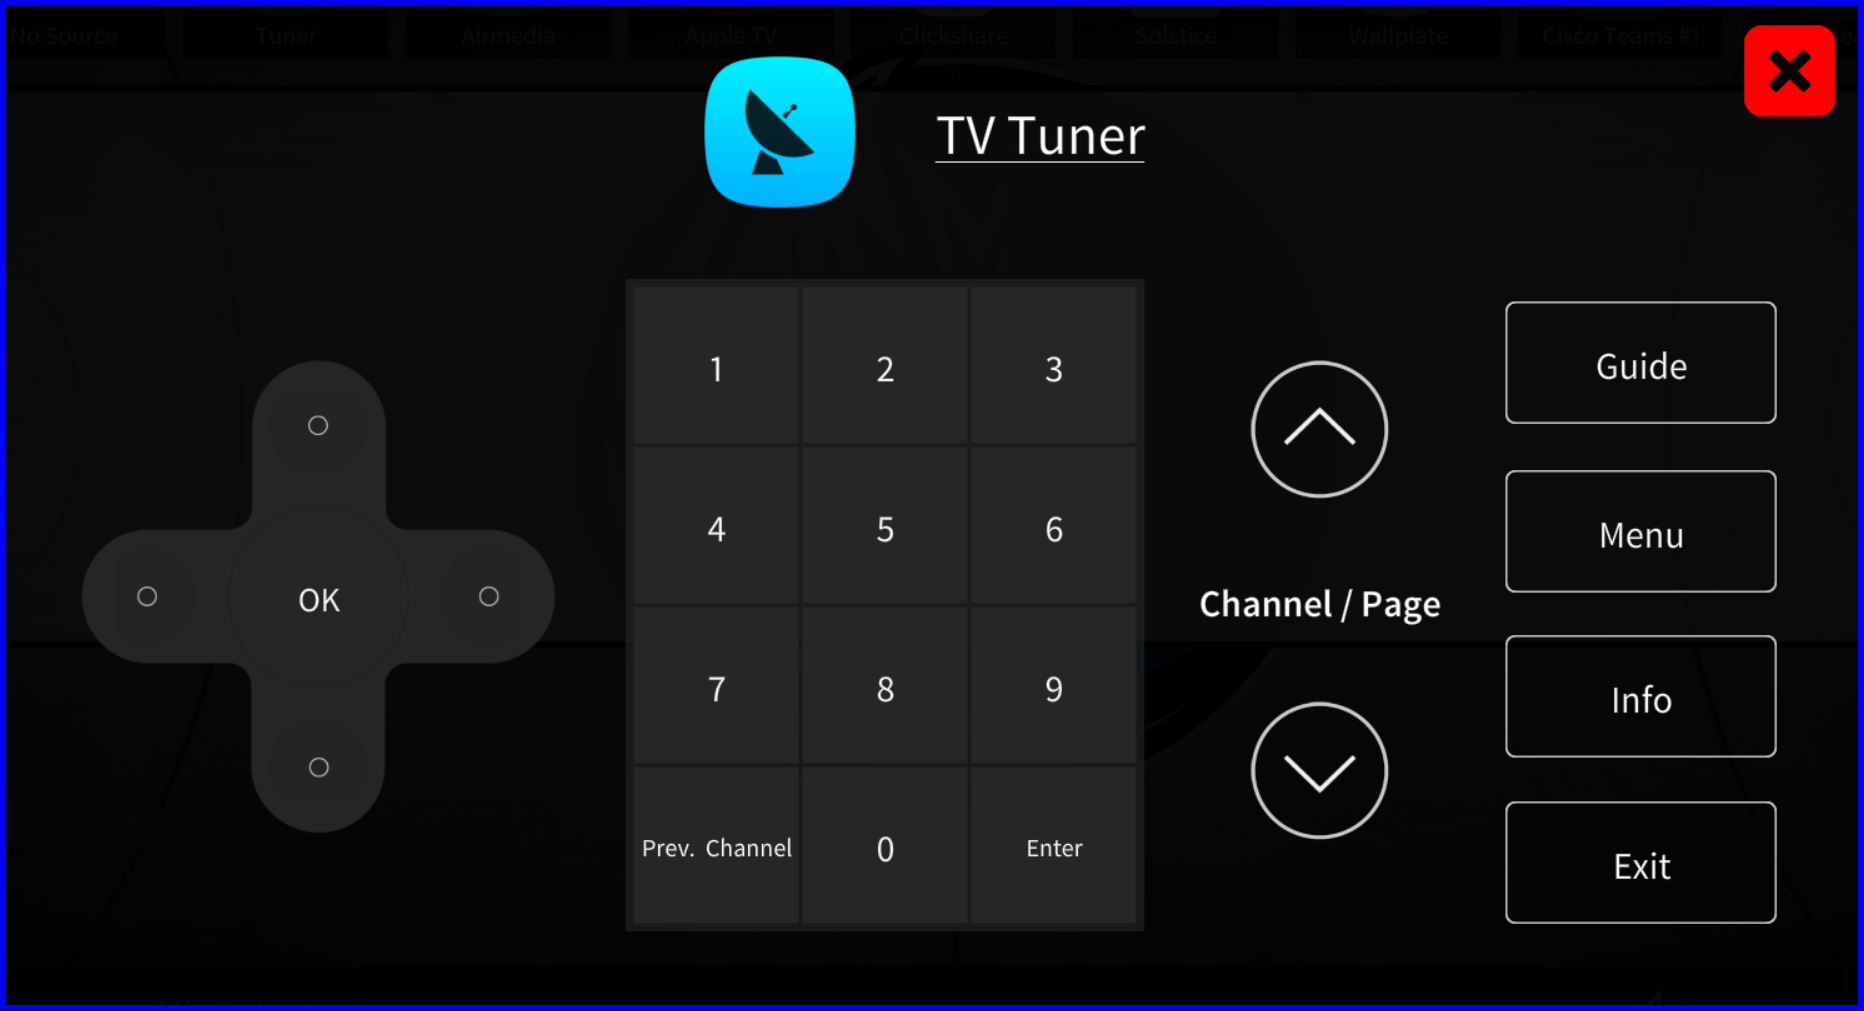
- Number pad + Enter — jump straight to a channel by number. Prev. Channel swaps back to the last channel.
- Channel / Page up & down — step through channels or scroll the guide.
- Direction pad + OK — navigate the on-screen guide.
- Guide — open the program guide. Menu, Info, Exit behave like their remote counterparts.
Open the Phone Controls
Telephone button on the bottom bar
Tap the Telephone button on the left side of the bottom bar to open the dial pad. The room's number (469-630-9984) is shown in the top left of the popup.

Place a Call
Type the number, then press Dial
Dial 8 to reach an outside line. The prompt at the top of the keypad reminds you whenever the popup is open.
End a Call
The big red Hangup button
Tap the big red Hangup button on the right side of the dial pad to end the call.
Nothing's showing on the LED wall?
Make sure a source is highlighted in the Source List, then tap a tile in the wall layout to send it. Also confirm LED Settings has the wall in the mode you want — Single or Dual — and that brightness isn't set to 0%.
No audio from the speakers?
Check the Speaker Mute button on the bottom bar isn't lit. Confirm Speaker Volume isn't at the bottom. Then verify the right source is selected for audio — tap a source and tap the Speaker Source button on the right side of the Main Page.
Far end can't hear us?
Confirm the Microphone Mute on the bottom right isn't on. Then check Mic Select — make sure the right set (table or ceiling) is the live one for how the room is being used.
Apple TV remote or cable remote not responding?
Confirm the device has power and that the source is routed to the wall — otherwise nothing will be visible. Reopen the popup from Apple TV Controls or Tuner Controls on the left rail and re-attempt the button press.
Phone won't dial out?
For external numbers you need to dial 8 first to grab an outside line. Re-enter the number with 8 in front, then press Dial.
Lights stuck off or on?
Open the Lights popup from the Top Bar and tap On / Off directly. The occupancy sensor also drives the lights — if it misreads the room as empty, manual control overrides it from this popup.
Room shut down on its own?
That's the auto-shutdown schedule. Press and hold the Taurus logo top right → Admin Settings, then either change the time or tap Disable to turn the schedule off.
Call or email us — we love to help.
(469) 630-9909
tech@taurustechinc.com