Conductor
Digital Instructions
Conference Rooms
Connect the Button
- Plug the ClickShare Button into your laptop. It will connect automatically to the room system.
Ready to Share
- When the button lights up solid white, it’s ready to share.
- Press the button once to share your screen. The button will turn red to indicate sharing is active.
Dual Sharing
- Up to two people can share their screens simultaneously. ClickShare will optimize the screen layout for the best visibility.
Take Over the Full Screen
- Long-press the button if you want to take over the entire screen for your content.
Access Advanced Features
- Press the small quick button on the ClickShare device to open the app and access additional features.
End Sharing
- To stop sharing, press the button once. To disconnect entirely, unplug the button from your laptop.
START PAGE
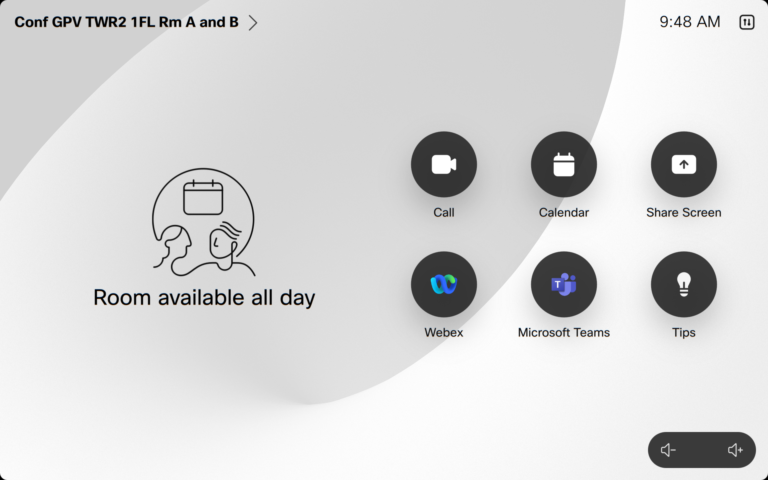
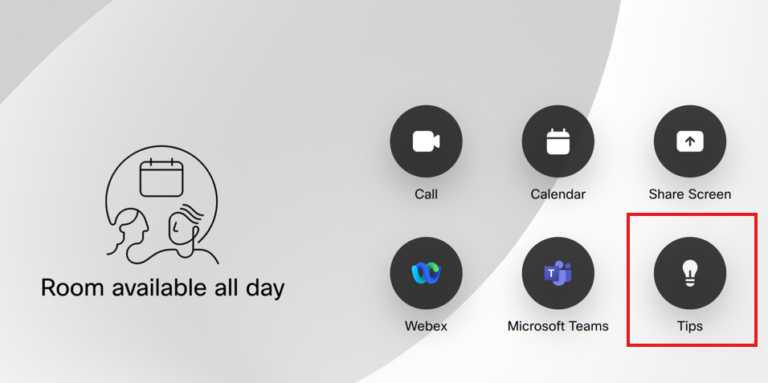
This is the primary page for the system and the default screen whenever the system wakes up. The projector powers on automatically with the system.
From this page, you can choose how you would like to use the system using the buttons in the center-right section of the screen. Calendar information automatically populates on the left side, and volume controls are located in the bottom-right corner.
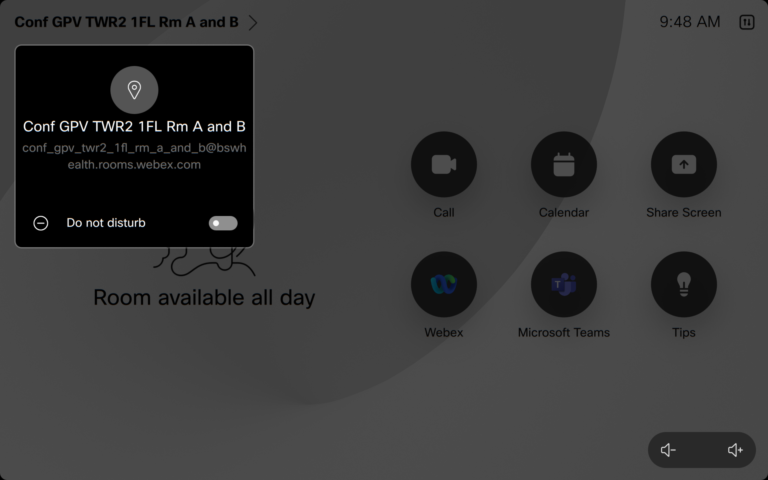
The top-left corner of the display shows the name of the video conferencing system.
CALL BUTTON
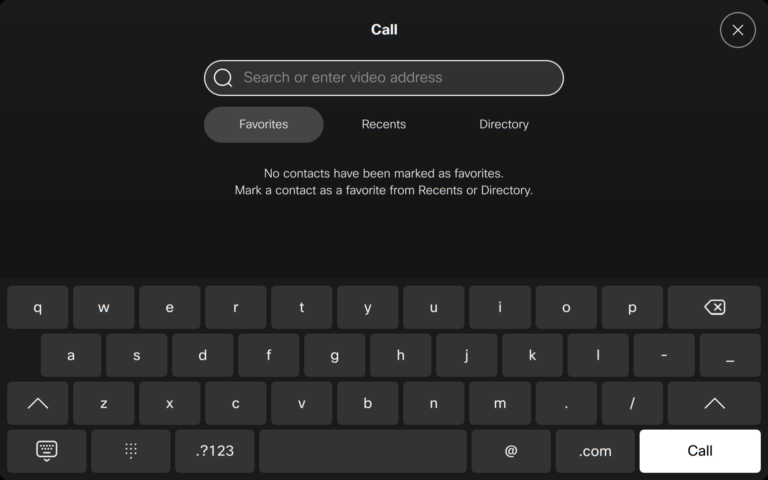
The Call button provides access to Favorites, Recent Calls, and the Corporate Directory. You can select an option and type your search query into the input field to locate contacts.
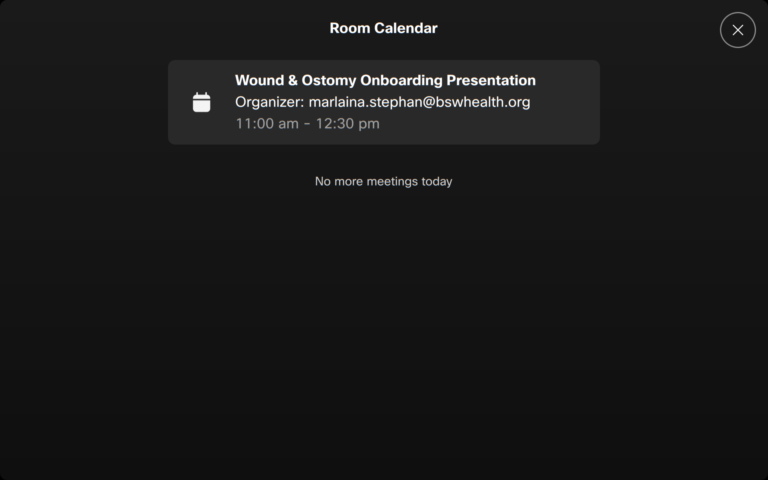
CALENDAR BUTTON
The Calendar button displays upcoming meetings scheduled for this room. This information is also available on the main Start Page.
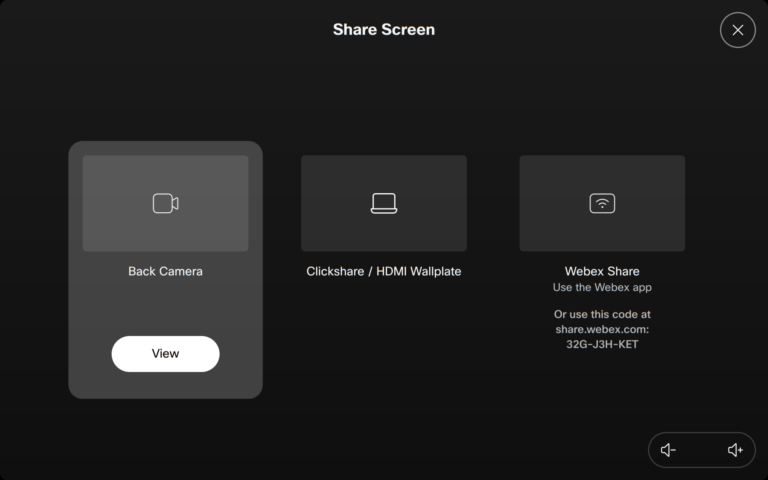
SHARE SCREEN BUTTON
To share content in the room (e.g., from the HDMI wall plate or ClickShare), select the View button to display it on the screen.
If you are in a call and wish to share content with the remote participants, press Share instead.
Note: Pressing View only displays content within the AB room.
When the selected content source is ClickShare or HDMI wall plate, the system will automatically switch between the two sources. If a device is plugged into the HDMI wall plate, it takes priority and will be shared through the system. If nothing is connected to the wall plate, the system automatically routes to the ClickShare device, which is a wireless sharing tool.
Barco ClickShare Button
Connect the Button
- Plug the ClickShare Button into your laptop. It will connect automatically to the room system.
Ready to Share
- When the button lights up solid white, it’s ready to share.
- Press the button once to share your screen. The button will turn red to indicate sharing is active.
Dual Sharing
- Up to two people can share their screens simultaneously. ClickShare will optimize the screen layout for the best visibility.
Take Over the Full Screen
- Long-press the button if you want to take over the entire screen for your content.
Access Advanced Features
- Press the small quick button on the ClickShare device to open the app and access additional features.
End Sharing
- To stop sharing, press the button once. To disconnect entirely, unplug the button from your laptop.
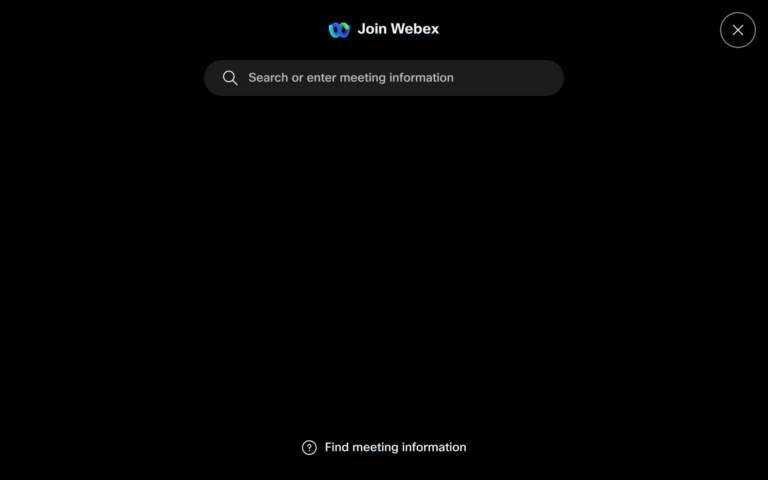
WEBEX BUTTON
To share content in the room (e.g., from the HDMI wall plate or ClickShare), select the View button to display it on the screen.
If you are in a call and wish to share content with the remote participants, press Share instead.
Note: Pressing View only displays content within the AB room.
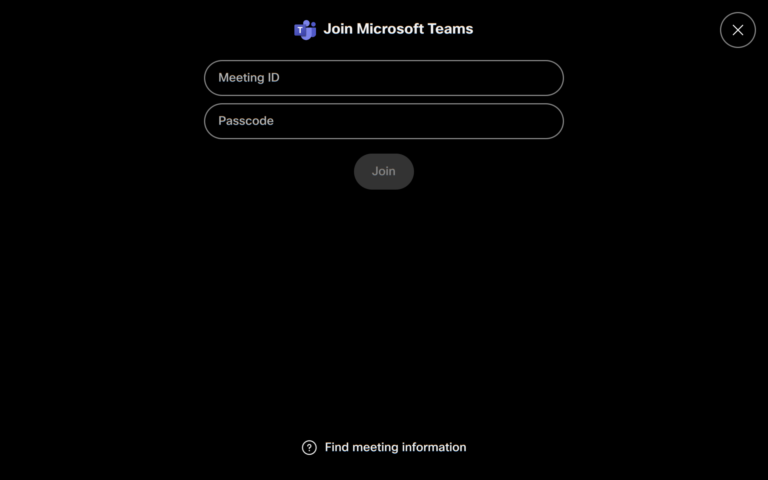
MICROSOFT TEAMS BUTTON
Enter your Microsoft Teams meeting ID and passcode here to join an active Teams meeting.
TIPS BUTTON
Provides helpful information from Cisco on using this device.
TOP LEFT BUTTON
Displays the name of the room and allows you to toggle Do Not Disturb on or off.
When Do Not Disturb is enabled, incoming calls will be blocked.
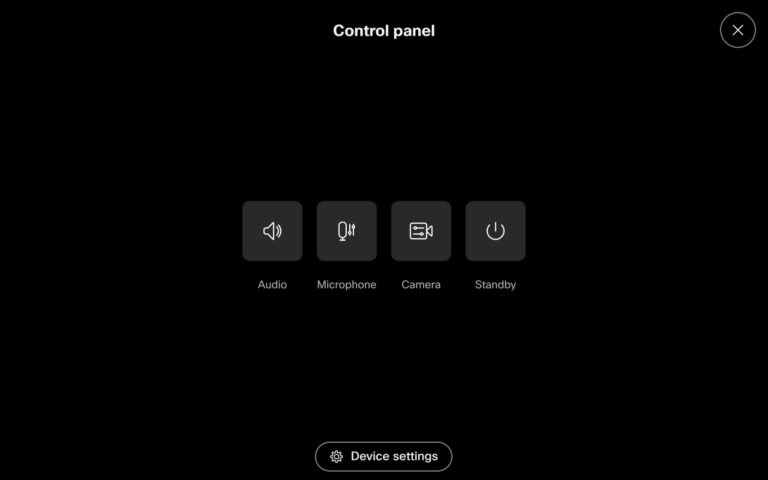
TOP RIGHT (SETTINGS) BUTTON
Access settings for audio, microphone, and camera here. These settings are typically pre-configured, so adjustments are rarely necessary.
- The Standby button puts the room into a shutdown state.
- Device Settings is for diagnostic purposes and should only be used by administrators.
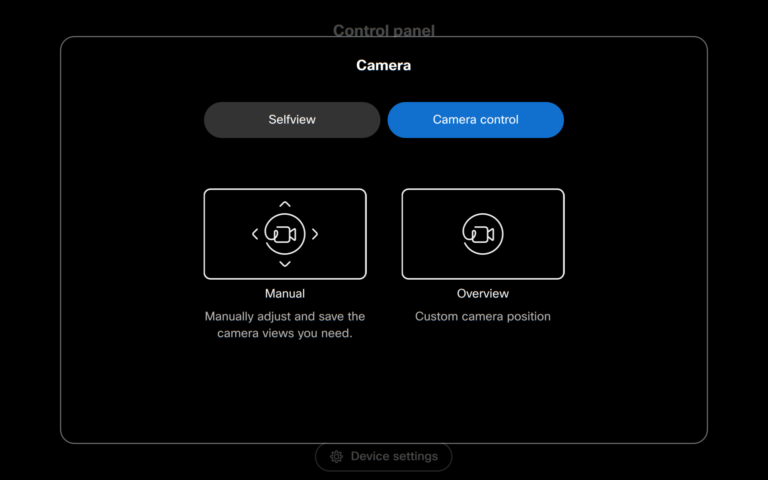
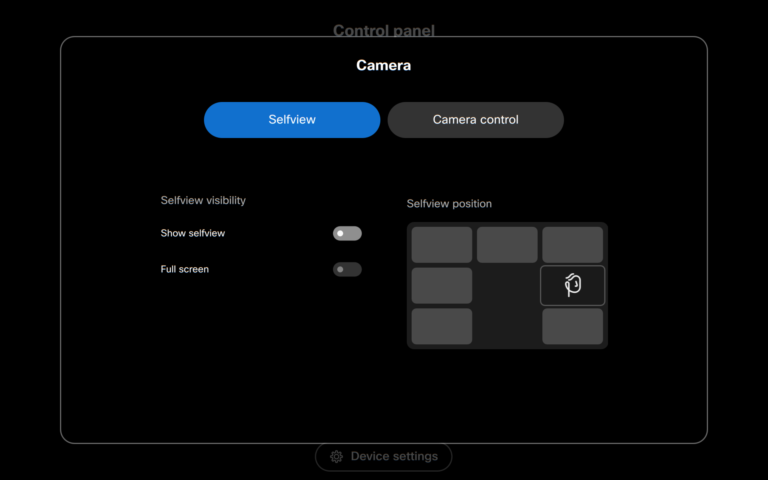
CAMERA SETTINGS
- Self View Tab: Toggle your self-view on or off, choose between fullscreen or picture-in-picture (PIP), and adjust the self-view position within the PIP.
- Camera Control Tab: Use the directional pad to manually adjust the camera view and select preset positions.
