Conference room technology · self-service
Rooms that run themselves.
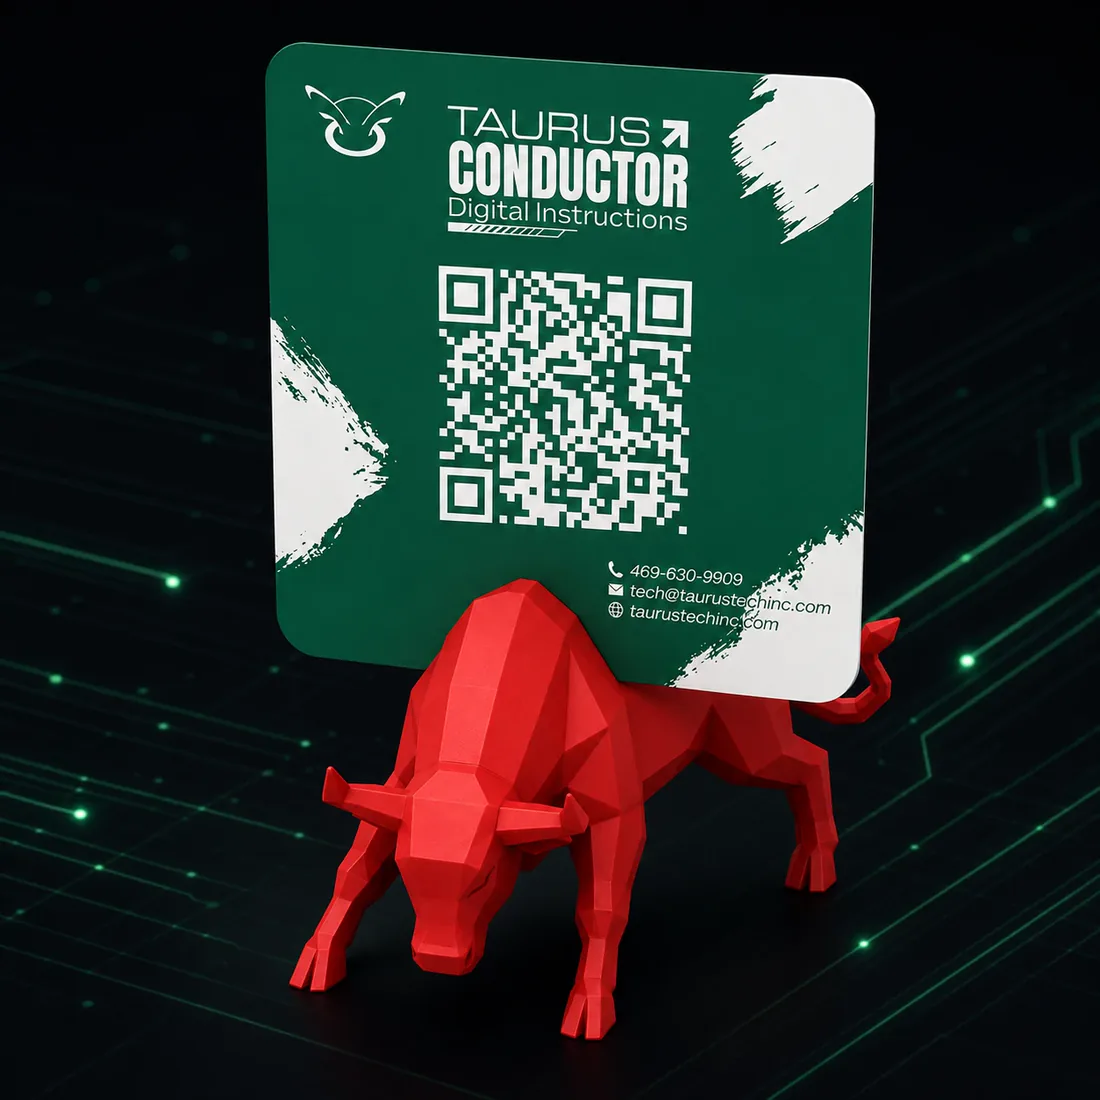
Conductor turns any conference room into a self-guiding space. One scan delivers step-by-step instructions, instant support, and real usage data — no app, no help-desk ticket, no “how do I connect?”